In our example we will have two databases; one called TradeSoft17 and other called Prebuilt, however, you can label the second database however you prefer. We recommend that you maintain the name of the original database (TradeSoft17). In order to set up multiple databases, you will need to go to the server PC and install the SQL Anywhere Server 17 program again.
1) Click the following link:
https://tradesoftinc.com/sybase-server-ppak/
Click on the red Download button.
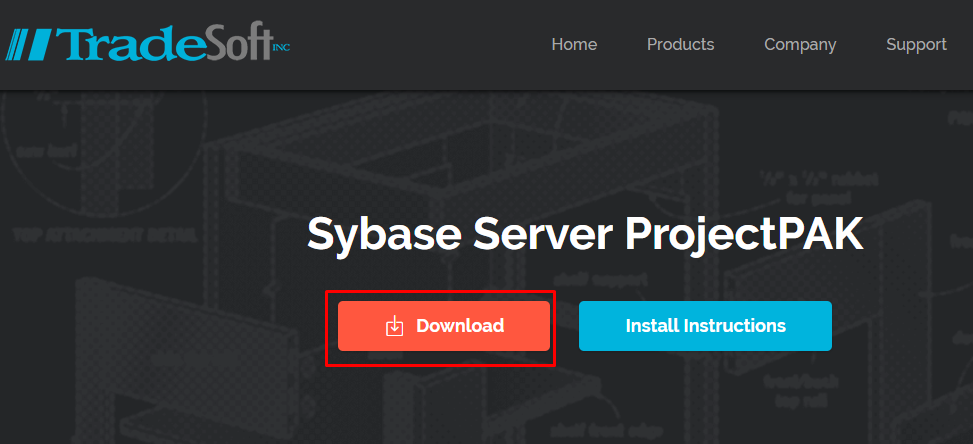
This will download the Sybase ProjectPAK.zip file.
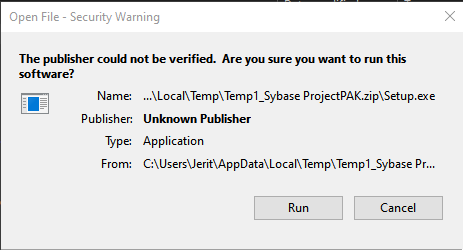
2) Open the zip file and double click on the Setup.exe.
3) Click on Run.
4) Change the default folder to C:\PpakSrvr17-Prebuilt for the Destination Location. Click Next.

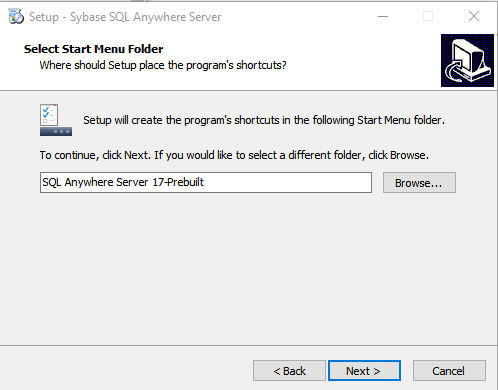
5) Change the default Start Menu folder name to SQL Anywhere Server 17-Prebuilt. Click Next, Install, and then Finish once it has completed.
6) You will want to place the ENGINE.DB and ENGINE.LOG (if you have one) into the C:\PpakSrvr17-Prebuilt folder. (You will need to have downloaded these files via the instructions the Implementation Manager emailed to you.)
7) If you are going to run the database manually you’ll need to navigate to the SQL Anywhere 17 Program Files directory. (If you are going to run the database as a service, skip steps 7 and 8 and go directly to step 9.)
For 64-bit Windows, it’s C:\Program Files\SQL Anywhere 17\BIN64
For 32-bit Windows, it’s C:\Program Files\SQL Anywhere 17\BIN32
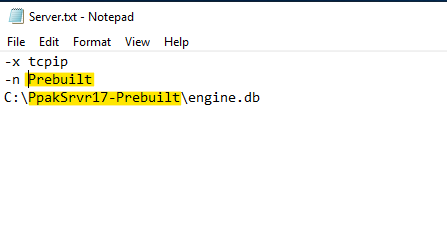
Inside this directory you will locate the Server.txt file. Open the file and edit the database name and directory accordingly, as highlighted in the below example. Select File | Save As and save this version of the file as Server2.txt. Make sure to save it into the same directory as the original Server.txt file.
8) If there is not a shortcut to the original database on the desktop, then you will need to create one. You can do this by going to the original Start menu folder, right-clicking, and choosing Send To | Desktop. After creating a shortcut, let’s copy that shortcut and paste this copy onto the desktop as well. Let’s rename this shortcut to Prebuilt Server.

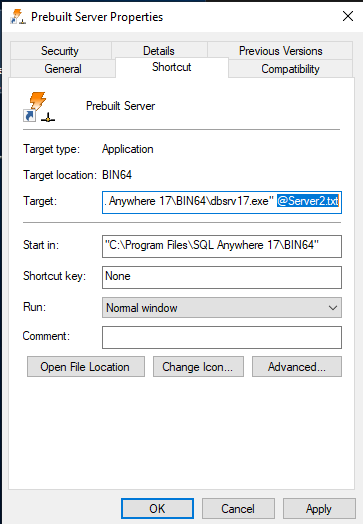
Right-click on the newly-created shortcut and choose Properties. Under the Shortcut directory, select the Target field and add @Server2.txt at the end of the field as shown below. Click OK.
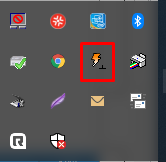
To start up the database manually, double click on the icon.
You’ll see its icon appear within the System Tray. If the server doesn’t start, or you receive an error message, call TradeSoft technical support. To shut down the TradeSoft server, right-click on the server icon and select “Shutdown”.
9) If you would like, you can create a service on your server that automatically starts the database when your server reboots. Please note running the database via a service is not recommended if you are running your database within a virtual environment. Also if you still have the database running manually via the last step, you will need to shut it down in order to successfully start up the service.
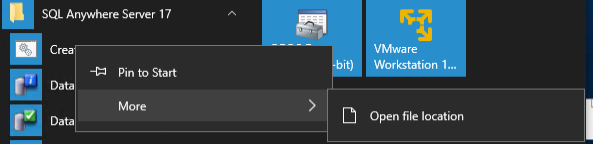
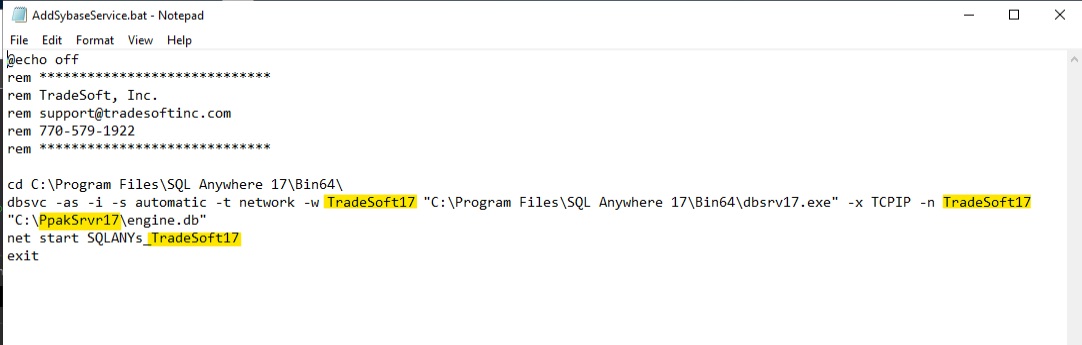
You will need to modify the service first prior to creating it. Go to your Start Menu and under SQL Anywhere Server 17-Prebuilt, right click on the Create Sybase Service shortcut. Click on More then click on Open file location.
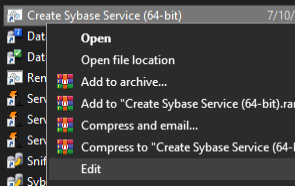
With the Create Sybase Service highlighted, right click on the line and select Edit.
Adjust the .bat file accordingly so that the service is pointing to the correct database name and file directory (in our example, that would be the Prebuilt verbiage mentioned above). These spots are highlighted in the image below. Once done, be sure to save your changes by clicking on File | Save.
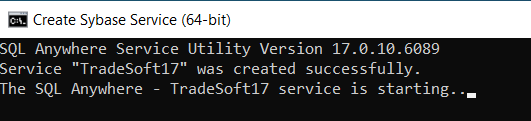
Click on Start | SQL Anywhere 17-Prebuilt. Click on the Create Sybase Service shortcut. You will see a command prompt screen appear and then disappear once completed.
Note: You should leave the server running because subsequent steps depend on it being running.
To be done on EACH workstation needing access to both databases
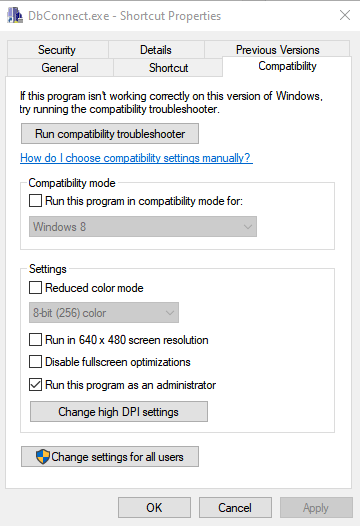
Create a shortcut of the DBConnect.exe to the desktop. DBConnect.exe is located in C:\Program Files(x86)\TradeSoft\ProjectPAK for 64 bit users and C:\Program Files\ TradeSoft\ProjectPAK for 32 bit users. In most cases, you’ll also want to go into the Compatibility tab of the shortcut’s properties and place a check mark next to ‘Run this program as an administrator’.
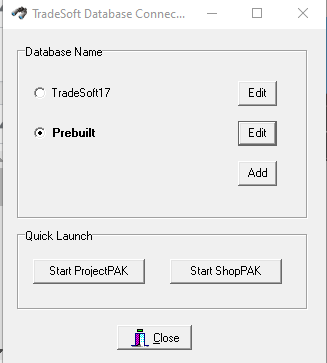
To switch between the databases, you will need to click on the DBConnect.exe shortcut on your desktop. It will already show the default TradeSoft17 database name listed. To add the additional Prebuilt database name, click the Add button. Once done, select which database you wish to use and then click on which application (ProjectPAK or ShopPAK) you wish to open.
Note: You’ll need to use the DBConnect utility only whenever you are ready to switch to another database. If you’ve made a prior switch and intend to continue accessing that database, you can use your normal ProjectPAK and ShopPAK shortcuts until such time you are ready to switch to the other database.