Use the ‘Return To Vendor’ (RTV) purchase order when returning defective stock or materials purchased but you can’t use.
Also, this is a handy tool to ‘back out’ POs that are wrong but have already been received. Since ‘Received’ purchase orders cannot be ‘canceled’ or ‘deleted’, creating a ‘dummy’ RTV purchase order lets you back out job costs while providing a solid audit trail of what has happened against a job.
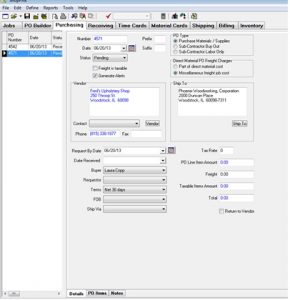
Open the existing PO that you need to make a return against.
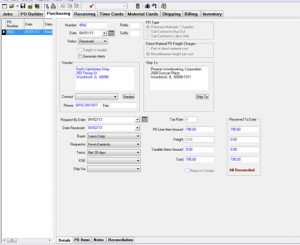
Go to the PO Items tab.
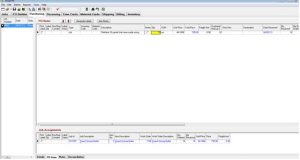
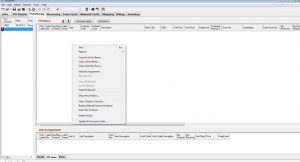
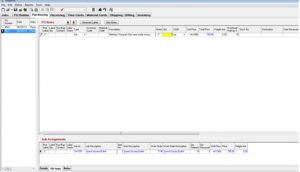
Select the line items you wish to return first. (They will be highlighted in blue.) Right click on the line item and select ‘Copy PO Item(s)’.
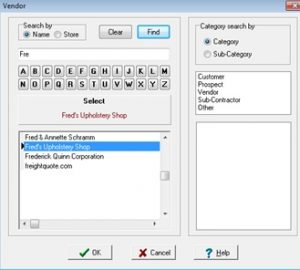
Create a new PO by clicking on the New button and select your vendor in the Vendor search window and click OK.
Enter in your ‘Request By Date’.
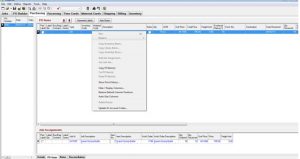
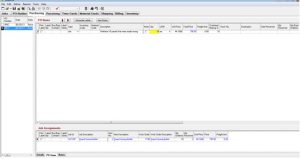
Go to the PO Items tab. Right click in the PO Items screen and select ‘Paste PO Item(s)’.
This will bring in the line items you copied from the original PO, along with any job assignment information.
Make any changes if necessary.
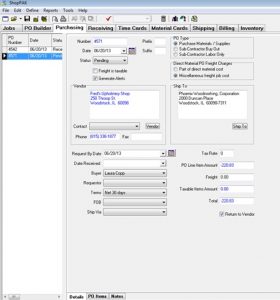
Go back to the Details tab and check the Return to Vendor box.
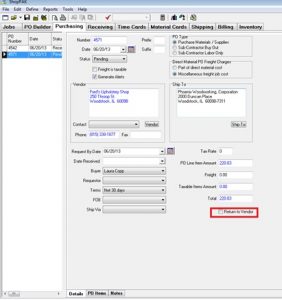
Note that the Total amount is now a negative amount.
Change the PO Status from Pending to Open to post the PO.
Click OK.
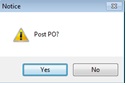
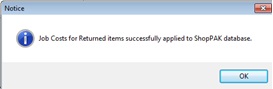
You will receive a notice that the PO was successfully posted. Click OK.
Change the PO Status to Closed.