1. Go to the Assembly tab and click New (or go to File | New). Fill in Name & Category at the very least, and fill in any additional fields.
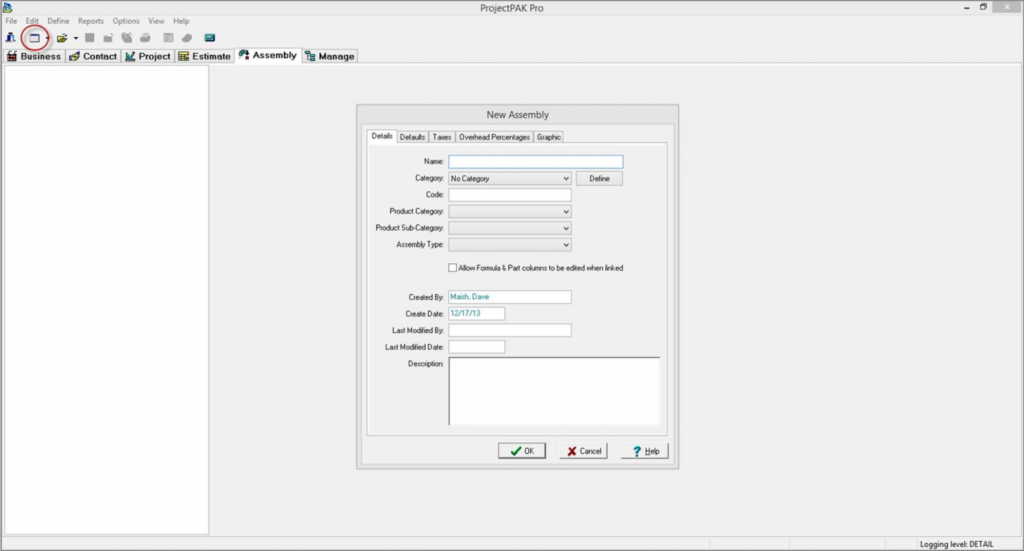
Note: If you are creating an assembly fill-in the name as you would like it to appear in the list of assemblies, as well as, put it in the appropriate category to easily find it when estimating. However if you are creating a subassembly create a name with the wording ‘Material/Labor’ at the end of it, and put it in a separate category with the wording ‘zSubassembly, ‘ at the beginning of the category name. For example if I was creating a subassembly for the box of a base cabinet I would label it ‘Base Cab Material/Labor’ and I would place it in a category labeled ‘zSubassembly, Base’. This way when you see a list of assemblies (non-categorized) you can easily distinguish the assemblies from the subassemblies.
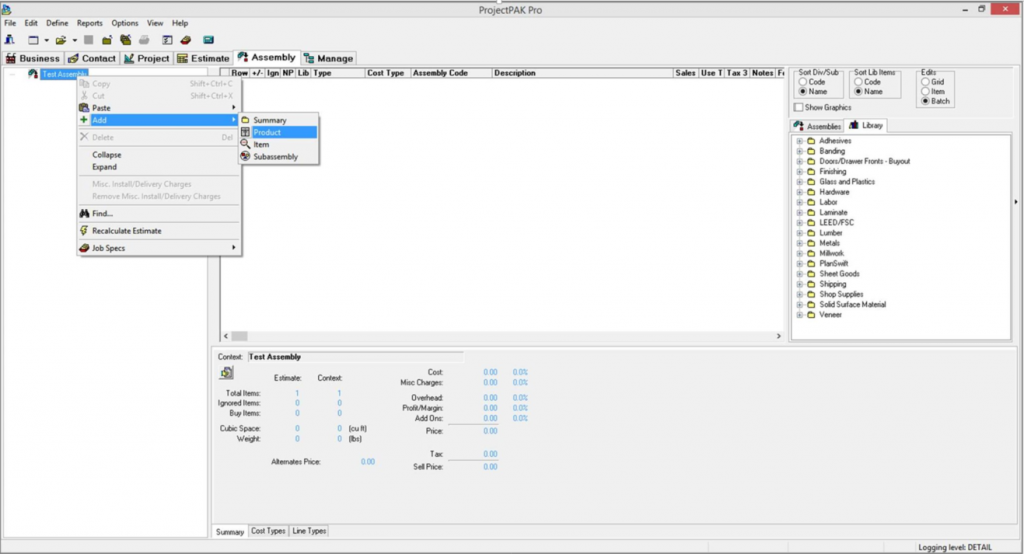
2. Right-click the root node in the tree on the left side of the screen and select Add and then either Product or Subassembly – depending on which type you are creating.
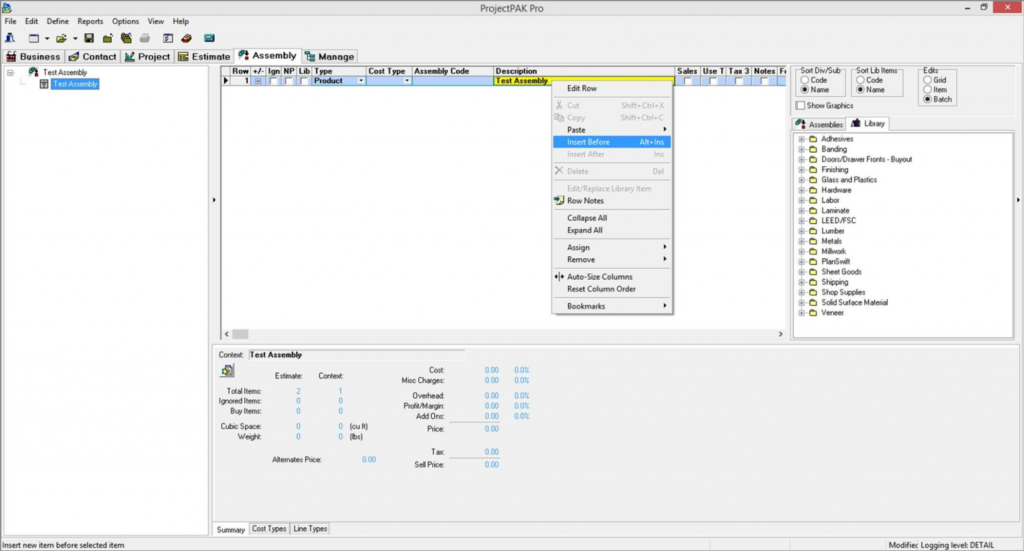
3. Right-click in the grid and select Insert Before.
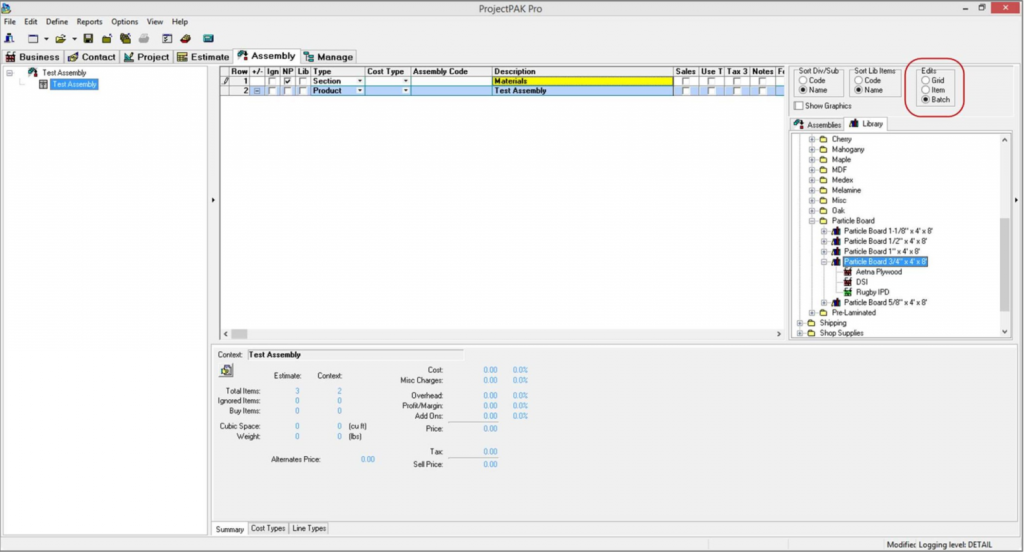
4. Change the Type to ‘Section’ and check the NP column (No Print). Fill in the description column with ‘Materials’.
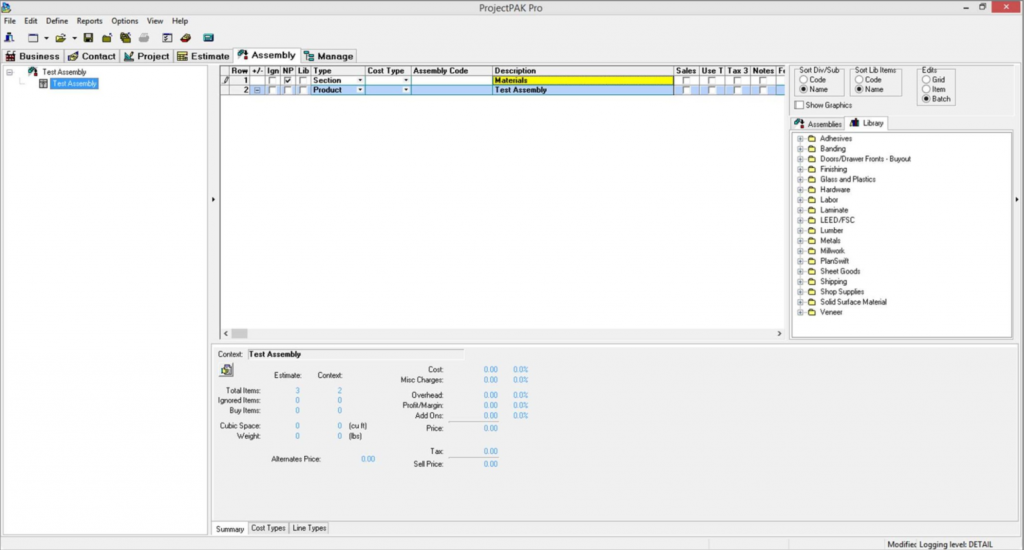
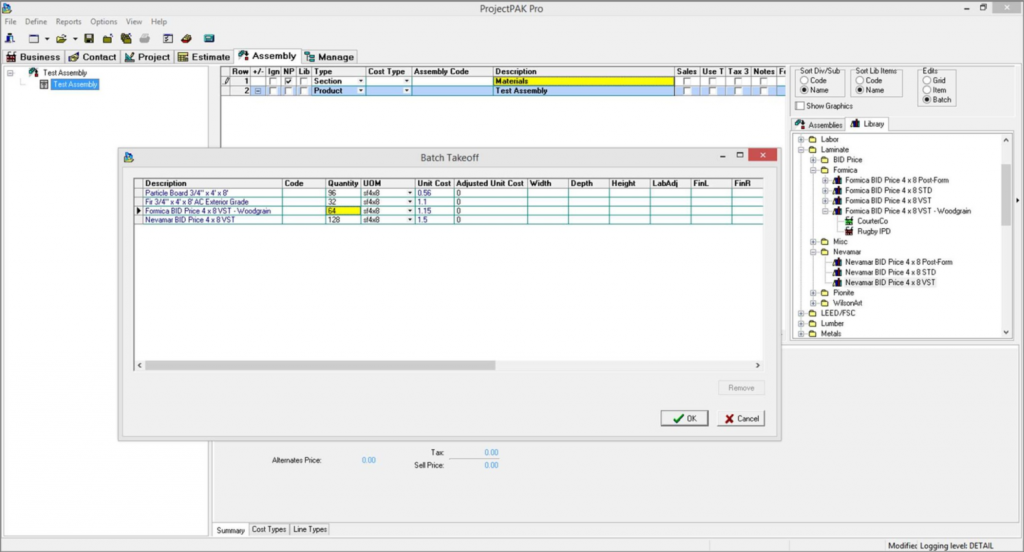
5. From the right side of the screen select the Library tab (if not already selected), make sure underneath Edits that Batch is selected, and then then double-click all material library items needed for the assembly/subassembly.
6. Fill in the quantity for each material and click OK to copy them into the new assembly/subassembly.
7. Select the last material row in the grid, right-click and select Insert After. Change the Type to ‘Section’ and check the NP column (No Print). Fill in the description column with ‘Labor’.
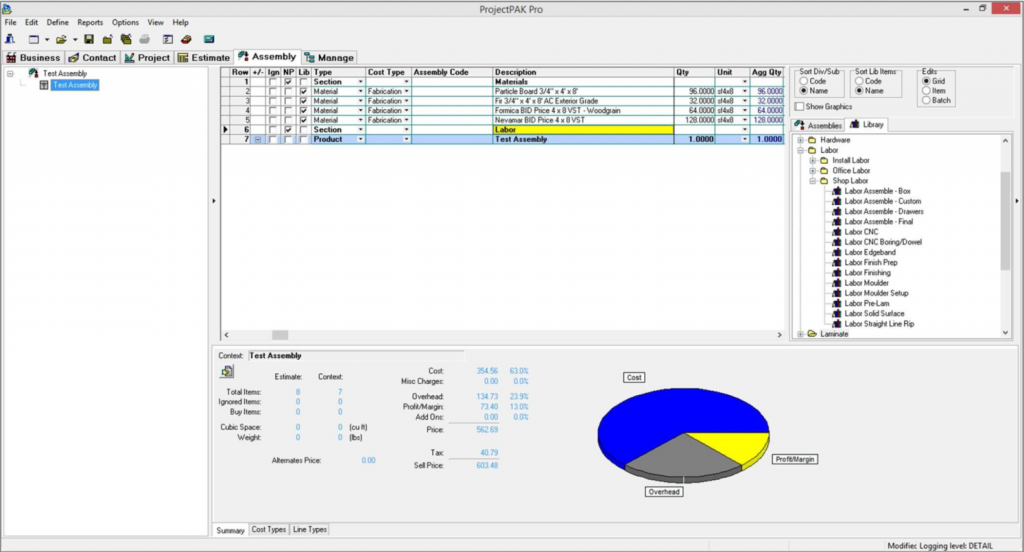
8. Repeat steps 5-6 for all library labor items.

9. Collapse and save. Now it will be available to use inside all estimates.
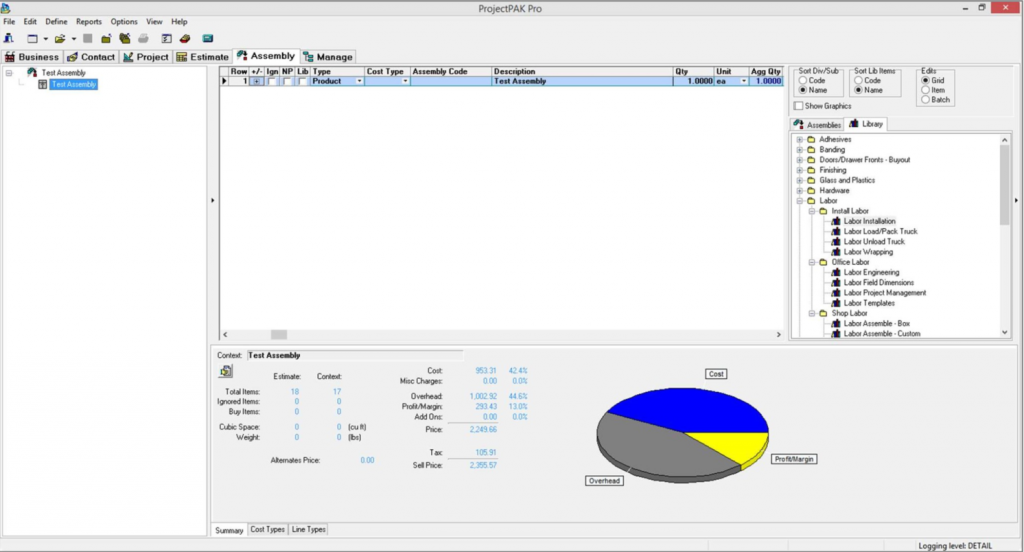
If you are creating subassemblies you will follow the above outlined steps for each subassembly. Once you have all subassemblies created you will now create the assembly. To link the subassemblies inside it, simply select the Assembly tab on the right side of the screen and drag and drop each subassembly needed.