
Displaying the Job Sub Tabs
Make sure the “Jobs” tab is active by clicking it with your mouse. All of the actions in this chapter require that the “Jobs” tab remains selected.
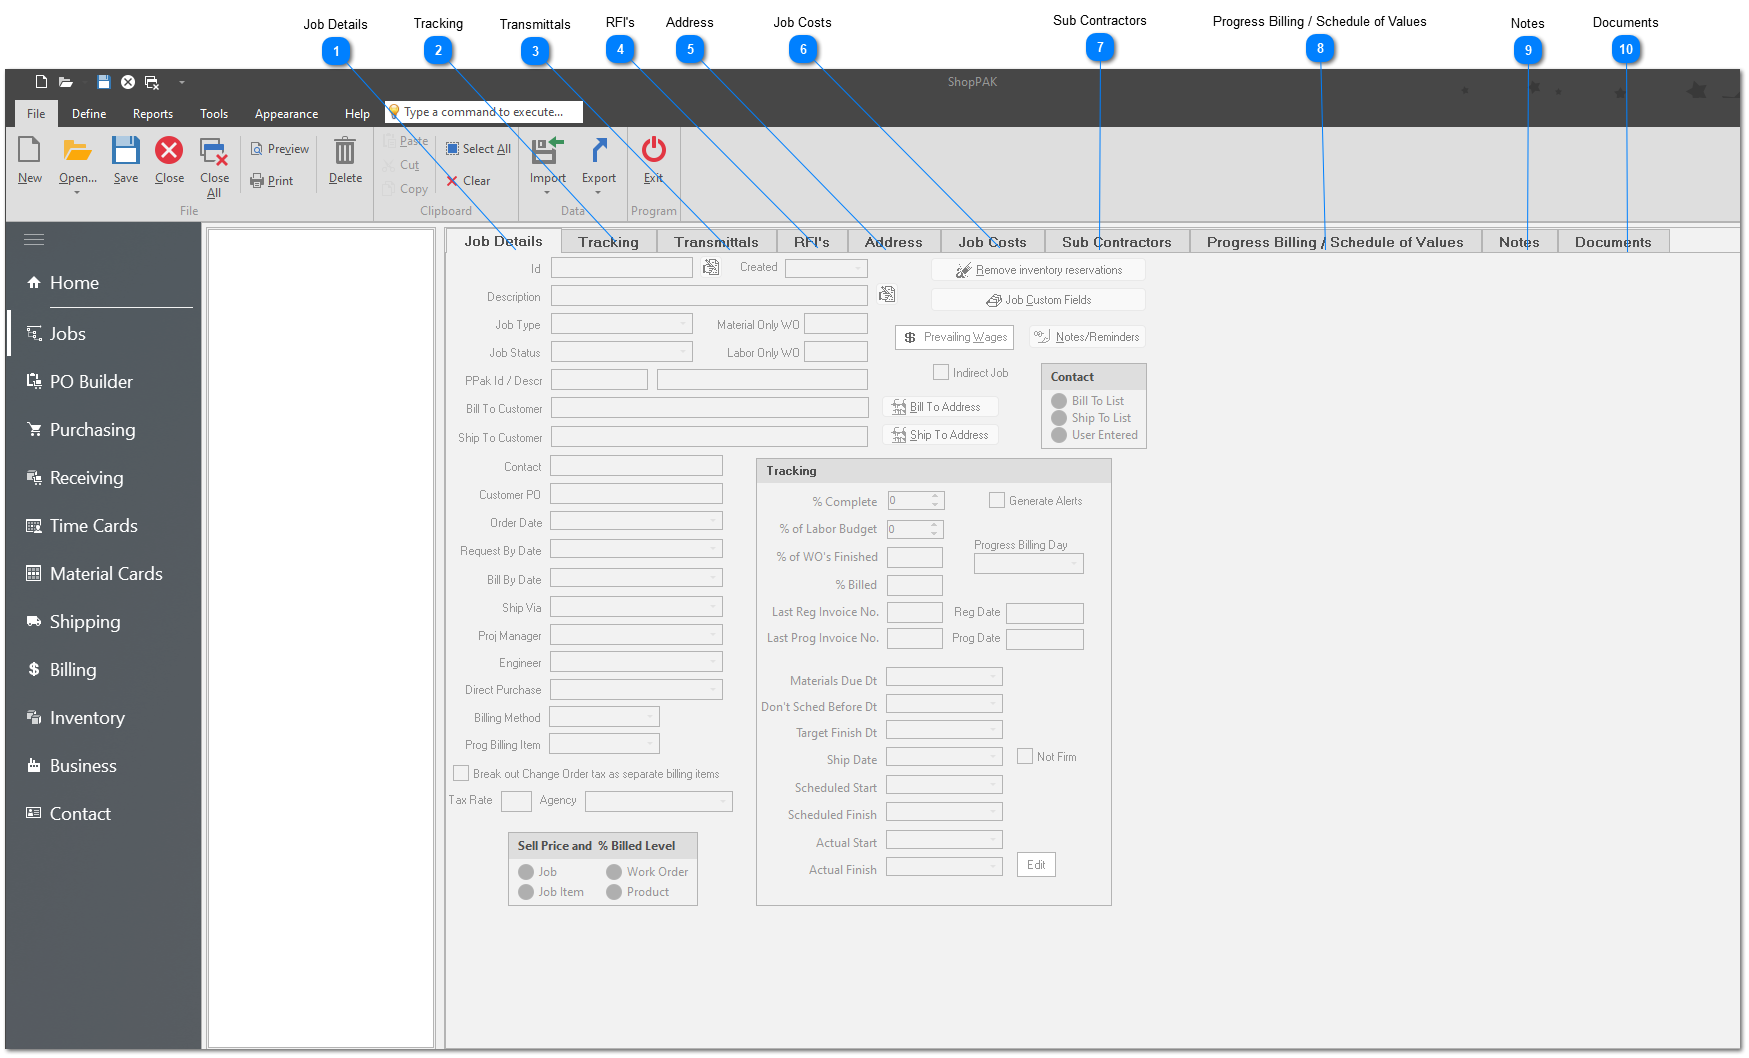
Since there’s too much information to fit neatly on one panel, ShopPAK organizes job information into sub tabs that run along the top of the Job Form.
TIP: To adjust the panel size of the Job Tree area and/or the Job Form area, move your mouse over the vertical splitter until it turns into a double-headed arrow. Holding down your left mouse button, drag the splitter left or right.
|