
ShopPAK Tools
The Tools menu lists several handy ShopPAK utilities and function.

View Alerts Alerts give users a powerful project management tool for tracking job progress and alerting users when important threshold events occur. Alerts are viewed via the Alert Browser window. To display this window click View Generated Alerts. For details on the Alert Browser window, refer to "Alerts".
|

Broadcast To Shop Floor This tool allows a ShopPAK user with appropriate security to send messages to PC data collection workstation PCs. Two tabs are available, Message and Employees.
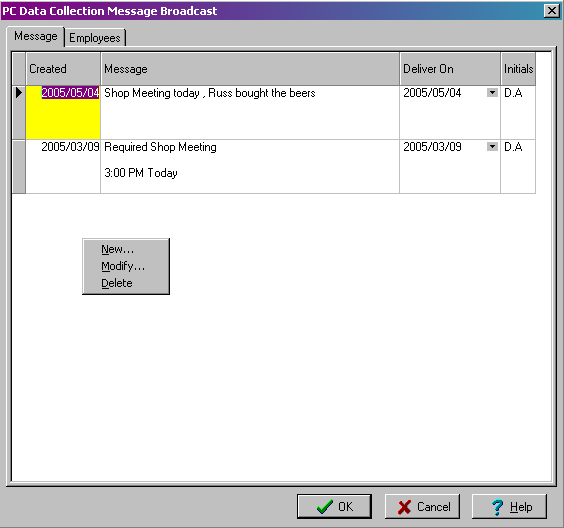
Message Tab
Right click on this tab to create a new message or modify/delete existing messages. Type your free form text into the Message column and choose a Deliver On date.
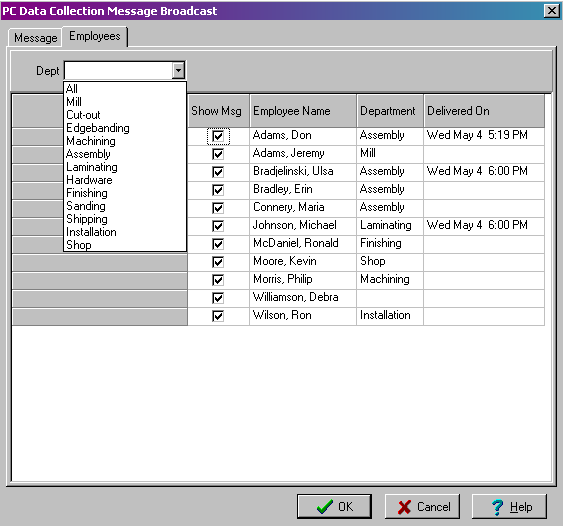
 Employee Tab
With the message row highlighted, select the Employees tab and check all the Employees you want to view the message...
Initially, the Employees dialog box will display all employees defined with the “Show on PC data collection screen / Tricoder” option enabled on their employee profile.
A Department filter is available to list “All” employees or add employees associated with a particular department. (This is done on their employee profile record.)
 Place a
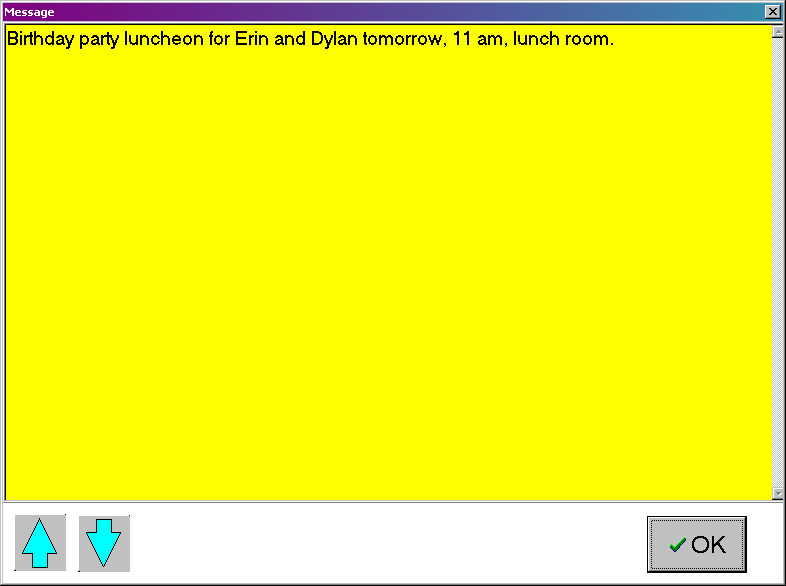
Once the “Deliver On” date has arrived, the message will be displayed as soon as the shop floor employee interacts with the PC Data Collection Workstation. Messages are difficult to overlook as they are displayed in bright yellow and will remain on the screen until the user acknowledges the message by clicking the OK button.
 | ||||
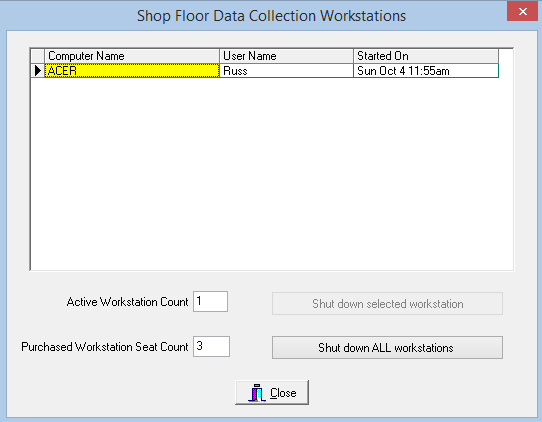
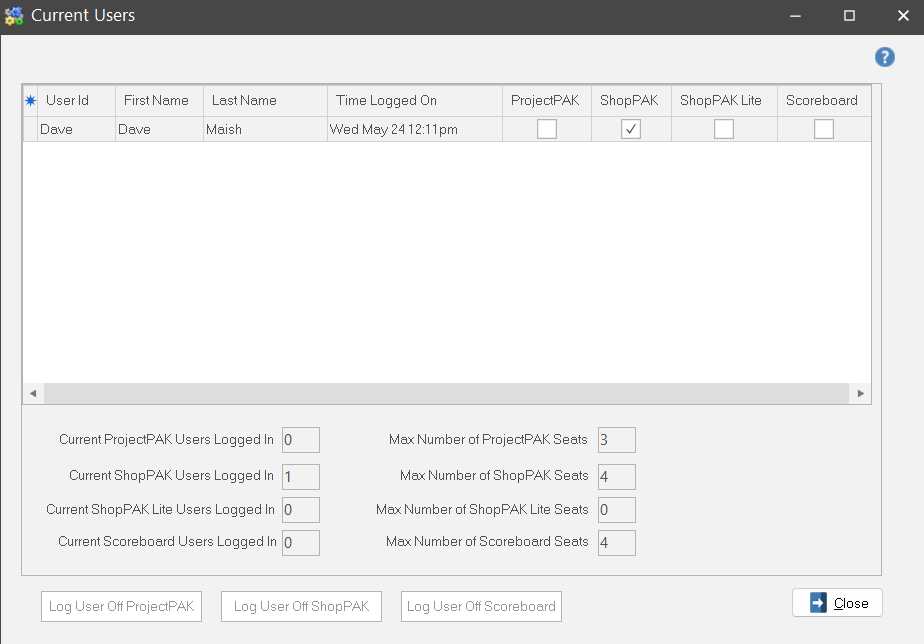
Current App Users Displays all users currently logged into either ProjectPAK, ShopPAK, ShopPAK Lite, and Scoreboard. Also shows the total number of seats being utilized as well as the maximum number of seats available for each product. You can select a particular user and log them out and end their session.
 |
Apply Overtime Rules This tool automatically calculates overtime based on your overtime rules. (See Chapter 4 – Setup and Options, page 27 for details on defining overtime calculation). Given the large volume of labor transactions coming in from shop floor data collection, using the Apply Overtime Rules utility is a real time saver. Instead of manually calculating overtime every week for each of your employees and updating all affected personnel’s records manually, this tool automatically moves time from the ‘regular time’ bucket to either ‘overtime 1’ or ‘overtime 2’.
Basic Rules and Guidelines
Initial set-up is required to run the Apply Overtime Rules tool. Please see “Setup and Options”, for detailed information on initial setup parameters.
Users must have security access to run Auto OT Calculation. This privilege is defined for each employee in ShopPAK Security. All new employees will initially be set to no access.
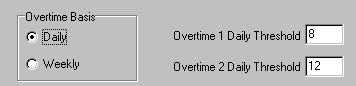
You need to set the Basis upon which overtime is calculated – either daily or weekly. Basis refers to the threshold number of hours that constitutes overtime.
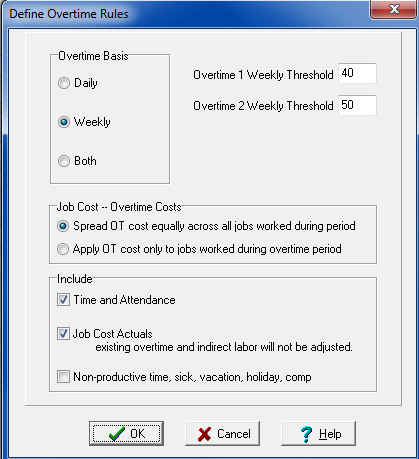
The days that constitute the start and end of your payroll week are defined in Define | ShopPak Options | Miscellaneous tab. In the image below, the payroll week starts on Wednesday and ends on Tuesday. Auto OT Calculation uses payroll week when determining which transactions are considered ‘straight’ time and which transactions should be viewed as ‘overtime’.

When calculating overtime for job costing purposes, you have two choices. You either spread overtime equally across all jobs that an employee with overtime worked during the week or the day, or you have ShopPAK simply apply overtime to those jobs that were worked once the employee crossed the overtime threshold number of hours.
You need to tell ShopPAK if you want overtime calculated for just “Time and Attendance” hours, or if you also want it to calculate overtime for “Job Cost Actuals”. You also tell ShopPAK if it should take non-work hours (sick, personal, vacation) into consideration when calculating overtime. The Non-productive time option in the Include box in the image below, (sick, vacation, holiday, comp), will only affect Time and Attendance OT thresholds.
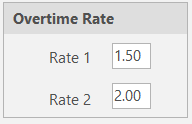
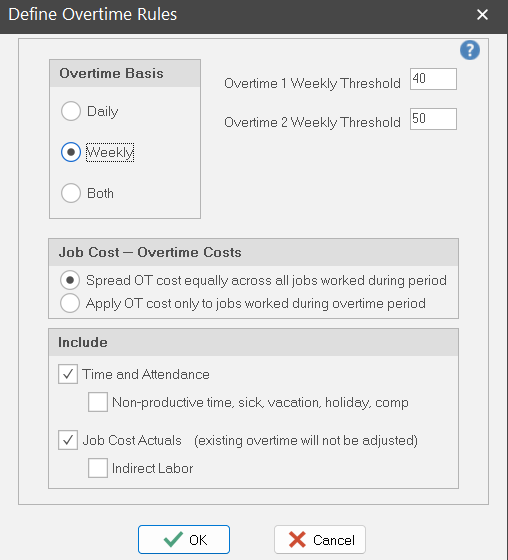 In the image above, regular straight time is 40 hours or less per week. Overtime 1 is considered anything over 40 hours but less than or equal to 50 hours. Any time accrued over 50 hours is considered Overtime 2. Labor rates for any employee time that falls into Overtime 1 hours will be increased by the Overtime Rate 1 factor set up in ShopPAK Options. Similarly, Overtime 2 hours will be factored by the Overtime Rate 2.
 If an employee has a direct regular cost of $ 10.00 per hour:
Running Automatic Overtime Calculation
After clicking on Apply Overtime Rules a popup dialog box will display a date picker with a drop down based on First and Last Day of the Week that you have setup via ShopPAK Options.
 Select the date range from the “Select Week of” drop-down pick list that you want to process.
Once the date range is selected, select the Calculate Overtime button to begin the process.
 Using the above overtime rules as an example, Auto OT Calculation will query the week’s labor transactions for both ‘Time and Attendance’ (payroll time) and ‘Job Costing’ (time logged against work orders). Non-Productive time will be excluded from ‘Time and Attendance’ threshold hours.
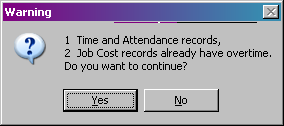
A message will be displayed if ShopPAK detects existing OT Labor transactions for this time period. This is a precaution to prevent running Auto OT Calculation on transactions that already have overtime calculated.
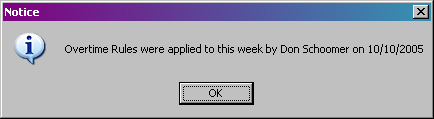
 ShopPAK prevents Auto OT Calculation from being applied to the same date range twice. A message will be displayed with run details if a re-run has been attempted against any week.
 As Auto OT Calculation processes labor transactions, it displays a ‘Progress Bar’ to keep you informed of what is currently happening in the update and an idea of the time remaining. ShopPAK may require several minutes to process all of the transactions in the overtime period that you’re running, depending on the number of Labor actuals.
Be patient. Let the process run through to completion.
In the example below, we have an Employee that has worked a very long shift. He worked on 3 Work Orders over the course of 25 hours.
 JOB 129 15
JOB 5205 9
JOB 5185 1
for 25 hours
Auto OT Calculation will re-distribute overtime 1 and overtime 2 hours across all 3 Jobs. Because JOB 5205 and JOB 5185 fall into the overtime 1 and overtime 2 buckets, some OT for JOB 5205 and JOB 5185 will be spread over to JOB 129, thereby spreading some of their higher direct labor costs to JOB 129.
The Total Time for JOB 5205 and JOB 5185 has decreased, where JOB 129 has an increase in Total Time.
 Here we can see that the Total Time of 25 hours for this employee has not changed, however, Auto OT Calculation has re-distributed time according to overtime rules:
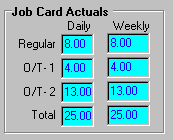
| |||||||||||||||||||||||||||||||||||||||
Re-calc Salary Actuals This tool automatically keeps salaried employee labor costs in sync with their true direct cost….regardless of how many hours they work in a given week.
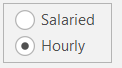
Before using this utility, make sure salaried employees are marked accordingly in their Employee set up form and you place a check into 'Fixed weekly labor cost'. Moreover, you have to identify the number of hours in a typical week.
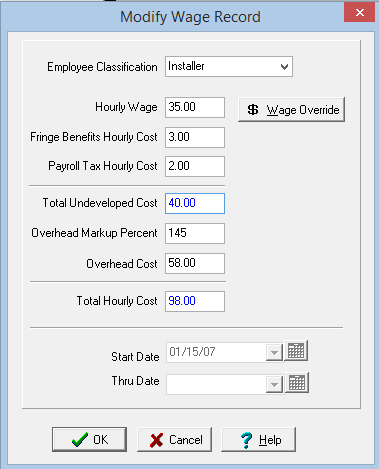
 Also make sure salaried employee wage record's 'Total Undeveloped Cost' exactly adheres to their hourly proportion of weekly pay. In this example, the hourly pay is $40. This means the employee receives $1600 per week.
 Running Salaried Employee Labor Actuals Re-calc
Click Re-Calc Salaried Employee Labor Actuals. ShopPAK displays a dialog box that has the latest payroll week that has not been processed:
 Select the date range from the “Select Week of” you wish to re-calc salaried labor transactions for. Once the date range is selected, select the 'Update job costs' button to begin the process.
|
Reset User LogonIf ProjectPAK or ShopPAK terminate abnormally, or if network communication between a ProjectPAK / ShopPAK client and the shared server database is disrupted, a ProjectPAK / ShopPAK user can be left in a state of ‘limbo’. The server will not allow the user to log back into ProjectPAK / ShopPAK because it thinks they are still logged in.
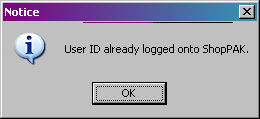 This utility clears the connection on the server side so the user can log back into ProjectPAK or ShopPAK.
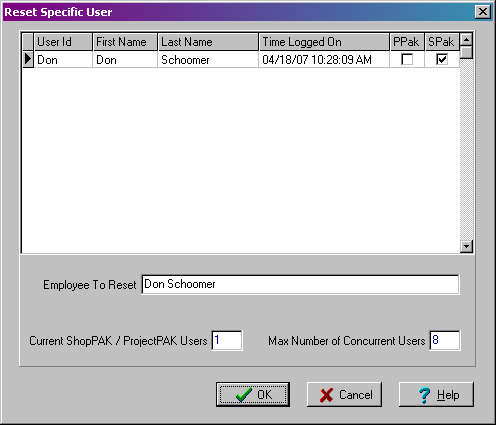
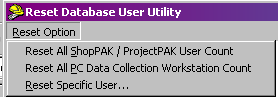 3 options are available with the Reset User Logon Utility program:
To reset a specific user, select the user id/name row, then select OK.
 |
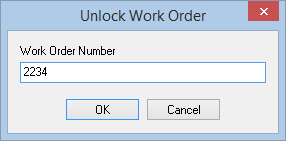
Unlock Work OrderShopPAK automatically locks a work order when a user first opens it. Once locked, only that user can modify it. This prevents multiple users from opening and making changes to the same work order at the same time. When the user closes the work order, ShopPAK automatically removes the lock.
However, if the user's PC crashes or stops working for some reason, it is possible that the locked work order becomes orphaned and nobody can edit it. In that case, use this utility to unlock work order.
 |
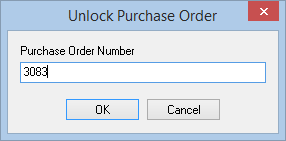
Unlock POShopPAK automatically locks a purchase order when a user first opens it. Once locked, only that user can modify it. This prevents multiple users from opening and making changes to the same purchase order at the same time. When the user closes the purchase order, ShopPAK automatically removes the lock.
However, if the user's PC crashes or stops working for some reason, it is possible that the locked purchase order becomes orphaned and nobody can edit it. In that case, use this utility to unlock purchase order.
 |
Delete Material LabelsYou can generate material labels from the Purchasing, Receiving, and the Inventory tabs. Generating labels is a separate step from printing labels. When you generate labels, ShopPAK writes label information to the database. Later, you can print all of the generated material labels, or a subset of labels, at one time as a batch. ShopPAK does not delete material label records after they are printed. You must do this yourself.
1. Select the labels you want to delete by clicking them with your mouse.
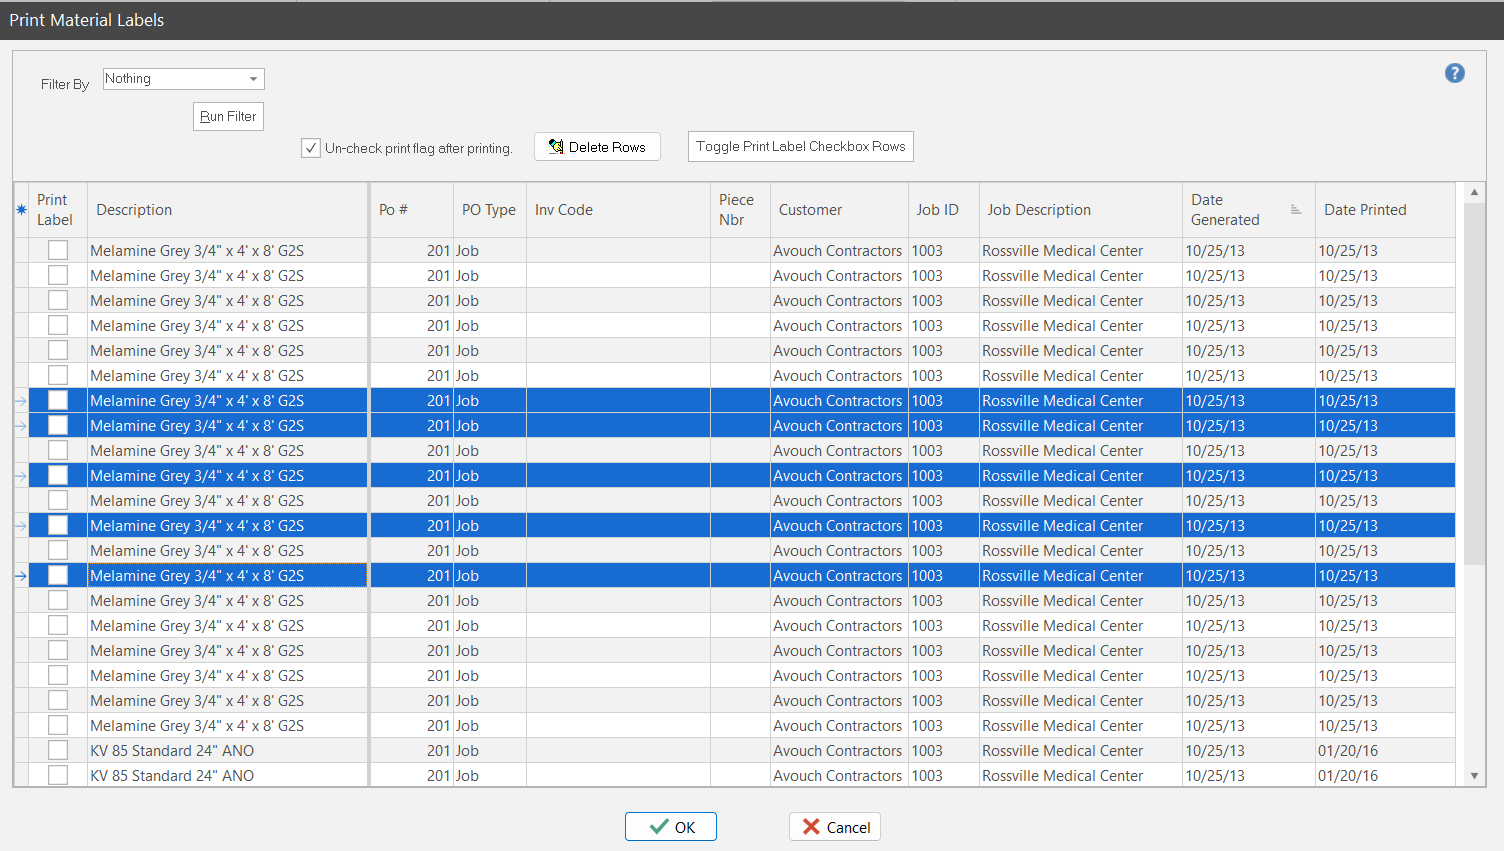
2. Click the “Delete Rows” button.
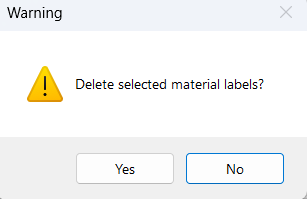
3. This displays a warning message. Select “Yes” to delete the material label(s). Click “No” to cancel the deletion.
 | ||
Refresh Direct Material ActualsIn case there is ever a discrepancy between received purchase orders and direct material job cost screens, you can run this utility to recalculate Job, Job Item, and Work Order direct material costs. Although direct material purchase order costs should always equal direct material cost on Job Cost windows, we’ve occasionally seen situations where they don’t balance. Perhaps the discrepancy is caused by a software bug prior to fixing it, or perhaps from users changing the point at which direct material costs get allocated back against a job. Regardless of the reason, this utility ensures all Jobs, Job Items, and Work Orders have accurate direct material job costs that match received purchase orders.
Select Refresh Direct Material Actuals to run the utility. ShopPAK displays a status message:
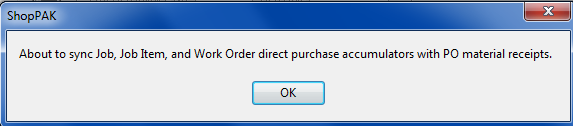 Click OK to start the utility. When the utility finishes, it reports how many work orders it updated.
 |