Running the QuickBooks (Integrated) Export
Once you’ve selected QuickBooks (integrated) as your accounting interface, and you’ve configured the necessary setup information, you are ready to export data to QuickBooks. There isn’t anything special to do. Simply follow the instructions for exporting Accounts Receivables, Accounts Payables, and payroll hours as described in this chapter.
The primary benefit of the integrated approach over the export file approach is it eliminates many errors that can derail the export file approach. For example, if you are sending AP Bills to QuickBooks, and you forgot to define a matching vendor in QuickBooks, the integrated approach can automatically create the vendor in QuickBooks. The export file approach doesn’t have this capability. It would display an error message when importing the file into QuickBooks, and you would have to manually add the vendor and run the import again.
Here are some additional examples of how the integrated approach is more interactive and powerful than the export file approach:
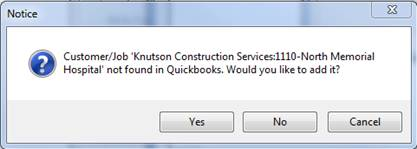
When exporting Account Receivable transactions, if the interface doesn’t find a matching customer and/or job, it can create the missing customer / job (instead of terminating with an error).
When exporting Account Receivable transactions, if the interface doesn’t find a match on a revenue GL account code, it can create it for you (instead of terminating with an error).

When exporting payroll hours, if the interface discovers that an employee isn’t set up properly in QuickBooks, it can set the employee up (instead of terminating with an error).

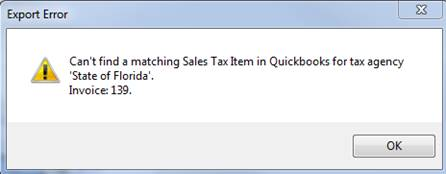
When exporting taxable Account Receivable transactions, if the interface doesn’t find a matching salse tax item, it informs you of the problem before terminating. Not all missing information can be created automatically, but the interface does a better job of identifying problems than the export file method.