The security profile for any ShopPAK user who needs access to Employee information will require both ‘Define list values’ and ‘View and define detailed employee cost information’ privileges. See “"Security”, for detailed information on setting-up security profiles.
Note: The User ID and Password will be the same when logging into either ProjectPAK or ShopPAK. ShopPAK privileges are not influenced by ProjectPAK privileges with the exception of some features in ShopPAK that update ProjectPAK Library Item information.
Refer to Chapter 16 in the ProjectPAK User’s Guide for more information on setting up User Profiles in ProjectPAK.
You must create an Employee record for every ShopPAK User, as well as, for any employee that you want to capture job cost labor time for.
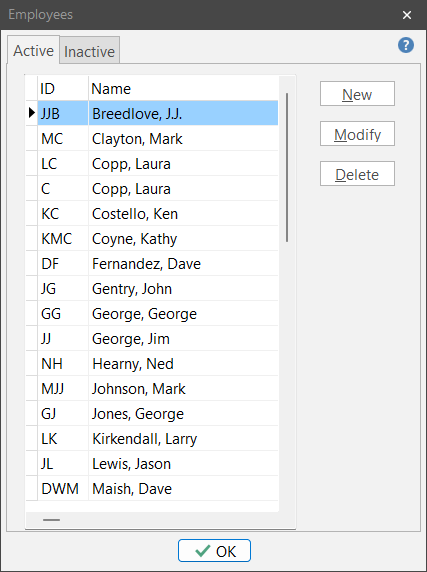
Select Define | Employees from the menu. This displays the “Employees” dialog box.
Use the “New” and “Modify” buttons to create or edit an employee. To delete an employee, highlight the employee and push the “Delete” button.
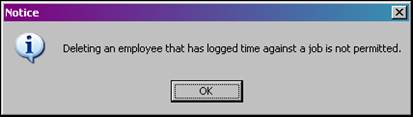
Terminated employees should be marked as ‘Inactive’. ShopPAK will not allow an employee to be deleted if they have accrued time against any job. The employee wage information remains relevant in job costing even if they are not actively accruing additional time.
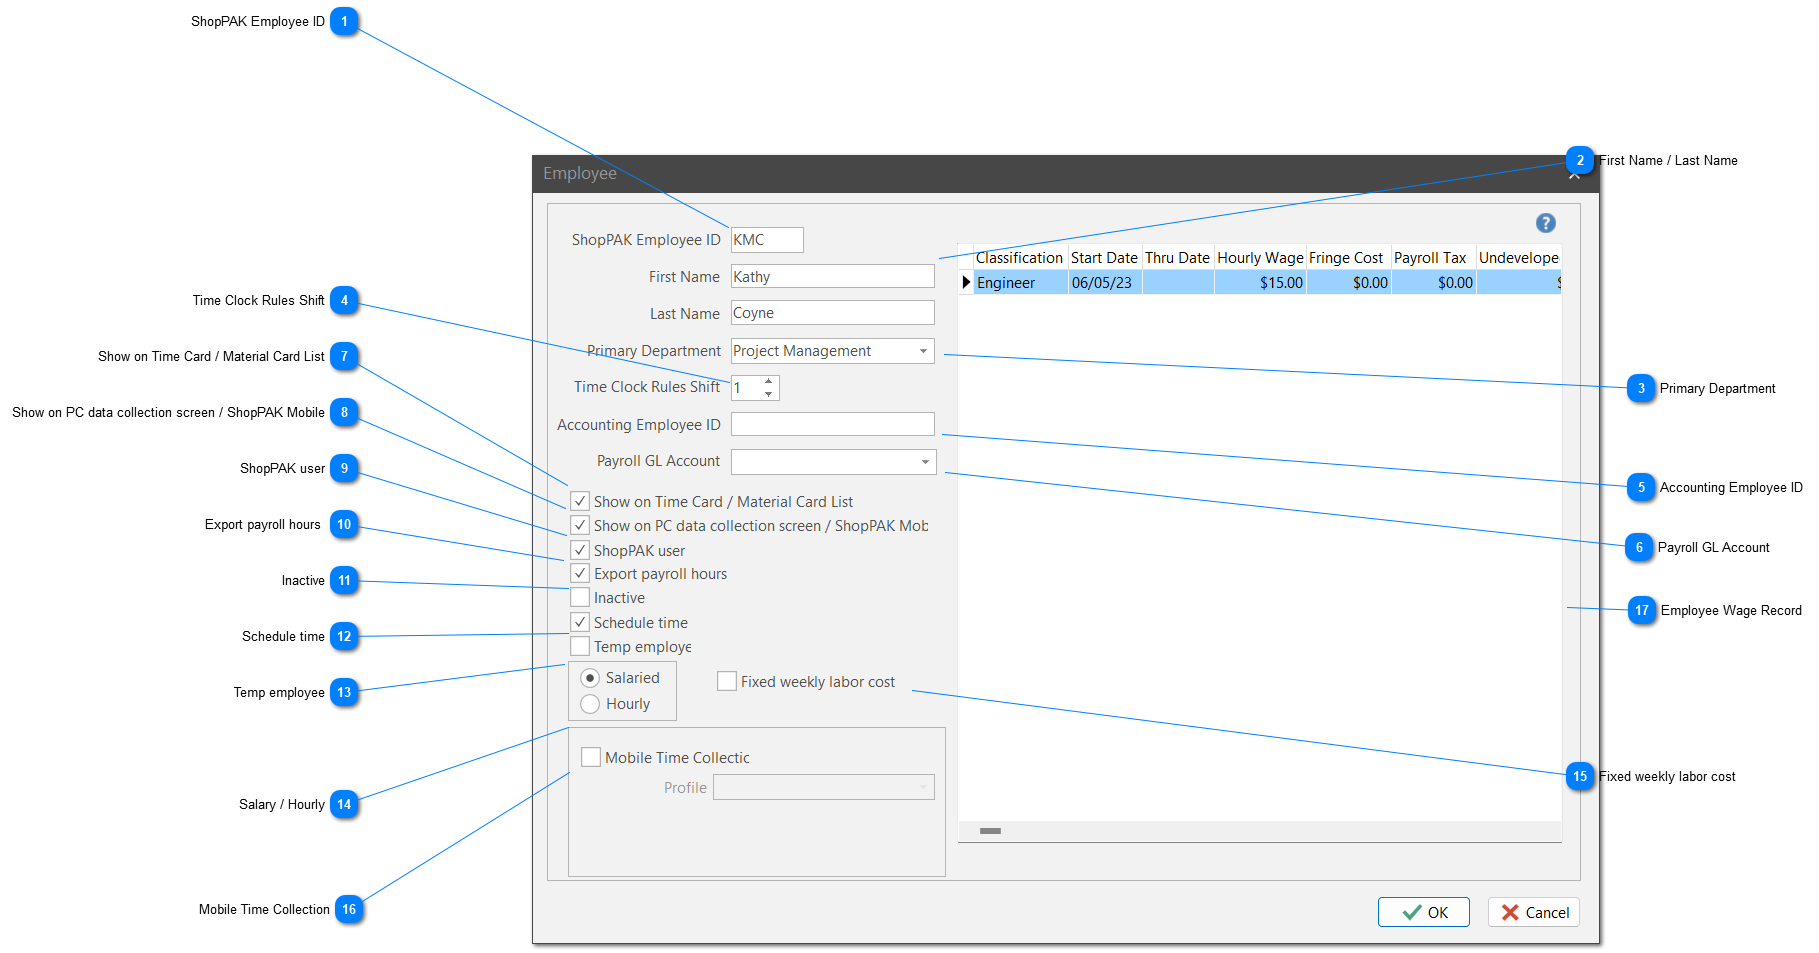
When defining employees that need login access to ShopPAK, the person must be defined as a ShopPAK user. “Employee ID” and “First and Last Name” are the only other required fields to set up a user profile. You will also need to setup a “Security Profile” for any ShopPAK user. Please refer to "Security" for detailed information on setting up a user Security Profile.
ShopPAK Employee ID
This value is required and must be unique for every employee. PC Data Collection and TriCoder data collection systems will prompt users for this information while processing transactions. Several reports are also available grouped or sorted by employee codes.
This field identifies the primary department the employee works in. ShopPAK will not restrict employees from entering labor actuals for other departments they may be working in. PC Data Collection status and broadcast message dialog boxes can optionally use “Primary Department” in restricting view/display to specific department(s). PC Data Collection Workstation also includes a feature to filter production employees identified in the PC Profile Employee List by department. This feature gives us the ability to show a subset of production employees on a particular data collection workstation.
If this employee will be regulated by the shift guidelines you have set up for “Time Clock Rules”, enter the appropriate shift number here. Setting-up “Time Clock Rules” is discussed in detail in Setup and Options.
Tip: Shift number 4 of “Time Clock Rules” is called flex time. Use flex time when your employee does not work a repeatable shift (e.g. they don’t work 7am – 3 pm, etc.). If you are using Automated Shop Floor Data Collection, ShopPAK will adjust time and attendance and job cost transactions accordingly. See “Time Clock Rules” for more information on flex time.
ShopPAK Accounting Export routines include the “Accounting Employee ID” in payroll export files. Peachtree Accounting for example, requires the Peachtree Employee ID and ShopPAK Accounting Employee ID to match exactly. ShopPAK Accounting Employee ID must also match the ADP File Number if you are interfacing with ADP. Please see Accounting and GL Interfaces, for detailed information on specific export file requirements.
Some ShopPAK Accounting Export routines include “Payroll GL Account” in payroll export files. Peachtree Accounting, ADP and simple spreadsheet export requests, for example, include the Employee GL Account Code information.
If an employee provides their time for payroll and job costing purposes, this option must be checked. Moreover, users involved with updating Work Order Status information will need to have the ‘Show on Time Card / Material Card List’ box checked to display Auto Pick transactions on the Material Card tab. Please see more on our Auto Inventory Pick feature in Inventory.
Show on PC data collection screen / ShopPAK Mobile
To reduce the number of employees listed on PC data collection screens and ShopPAK Mobile cloud app, place a check in this box to include only those employees who will enter time via our data collection software.
Employees that need login access to ShopPAK need a check in this box.
To reduce the number of selections in various pick boxes for “Project Manager”, “Purchasing Agent”, “Requestor”, etc., only employees that are ShopPAK users will be listed.
Terminated employees should be marked as ‘Inactive’. ShopPAK will not allow an employee to be deleted if they have accrued time against jobs. The employee wage information remains relevant in job costing even if they are not actively accruing additional time.
Several Labor reports include options to include/exclude Inactive employees.
When an Employee is tagged as Inactive they are:
Moved to the Inactive Employee tab
Removed from any PC Data Collection profiles they are listed on.
If a resource is a temp, make sure you mark them accordingly by placing a check in the “Temp employee” checkbox. Temp employees are scheduled differently than regular employees, and thus, they need to be identified as Temps in the Employee dialog box.
Since salaried employees are paid a fixed salary regardless of the number of hours worked, ShopPAK can adjust labor actuals transactions so they don't skew labor costs. If you want the employee to be included in the weekly time adjustment utility, place a check into the checkbox. Also, enter the number of weekly hours that correspond with the employee's hourly direct cost.
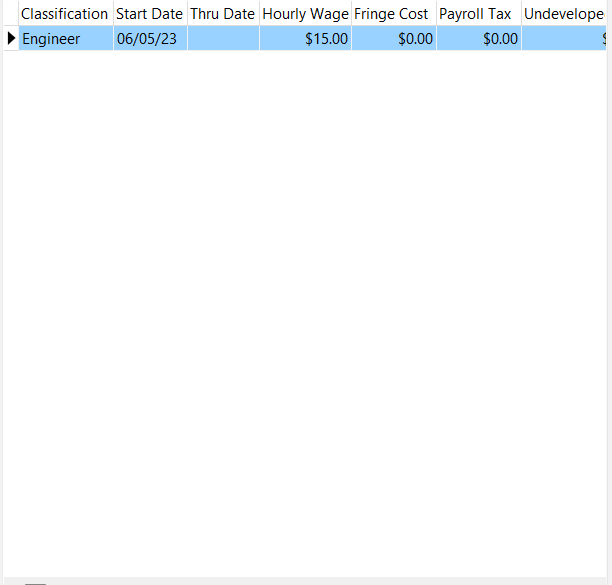
Each Employee should have one or more Wage records. These records chronologically reflect changes to an employee’s hourly wage allowing ShopPAK to accurately calculate job costs over time.
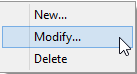
To edit or create a wage record, right click the wage grid with your mouse.
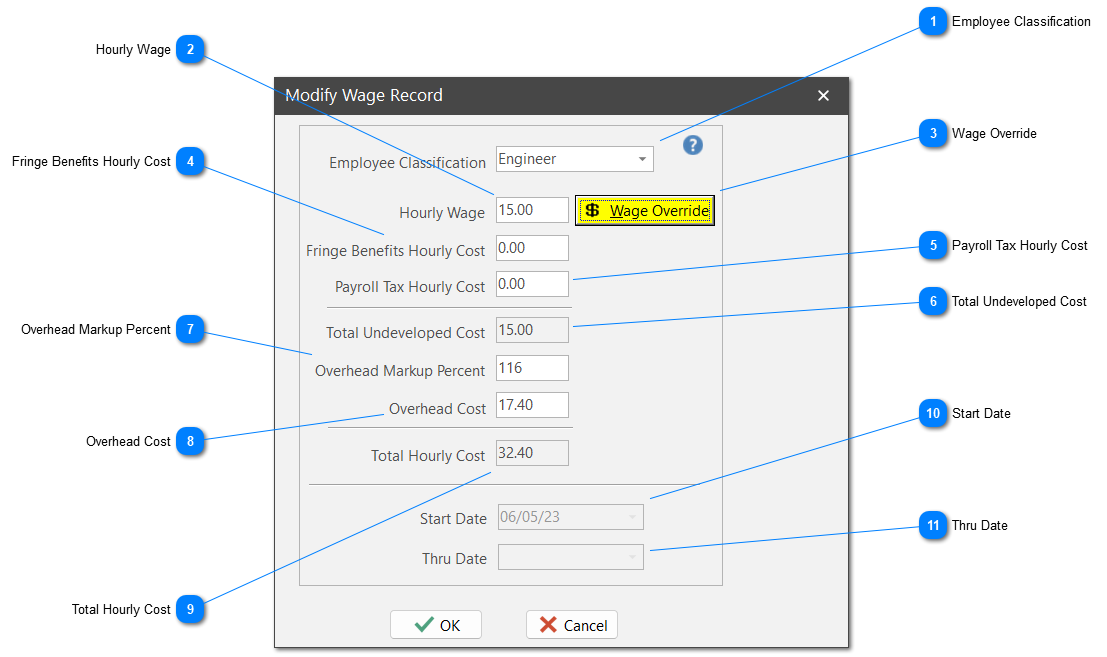
Selecting ‘New’ or ‘Modify’ displays the Wage dialog box:
Employee Classification
Used when exporting Time & Attendance hours to QuickBooks or MYOB accounting packages. Identifies employee’s pay grade when defining Pay Codes via Define | Payroll Codes menu item.
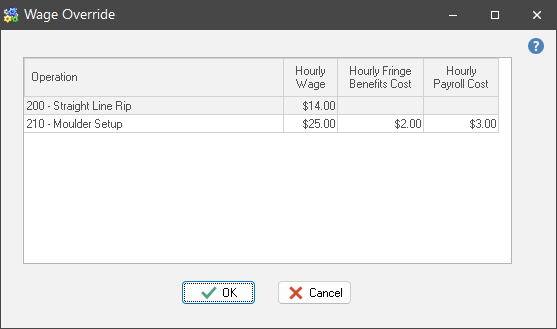
Use wage override to set up different wage rates for a particular employee. For example, if you pay an employee one wage rate for fabrication, but a different wage for installing, you can override the normal wage with a special, operation specific, rate. ShopPAK checks for any wage overrides when calculating job costs for an employee, department, work order, or job.
NOTE: A prevailing wage override (defined on the Jobs tab) takes precedence over an employee wage override, should both overrides be present for an employee and the same operation.
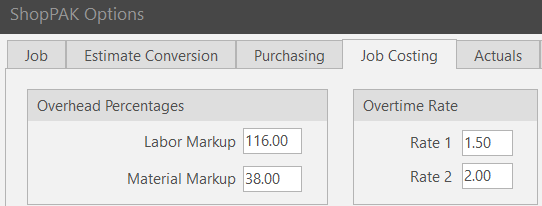
If you apply overhead as a percentage, type in the percentage and tab. ShopPAK calculates the “Overhead Cost”. When inserting a ‘New’ employee Wage record, this value will default to the ‘Labor Markup’ setup in ShopPAK Options, Job Costing tab.
If you apply overhead as a dollar amount, type in the overhead amount. (If you enter overhead cost, ShopPAK calculates the corresponding overhead percentage).
Represents the beginning date range this Wage record is active for this employee. When inserting a ‘New’ employee Wage record, the ‘Start Date’ will automatically populate with today’s date.
Represents the end date for the period this Wage record is active. Thru date can be either the employee termination date or the date a new Wage record became effective, i.e., the employee received a raise.
Note: ShopPAK will query the date labor hours accrued for a job with employee Wage Start/Thru ranges, ensuring job costs accurately reflect employee cost on any particular day.
If the ShopPAK user will also be submitting job hours against jobs, or you’re defining a production employee who will be generating labor or material transactions, place a check in the “Show on Time Card / Material Card List” checkbox, as well as, provide the employee’s wage information.