
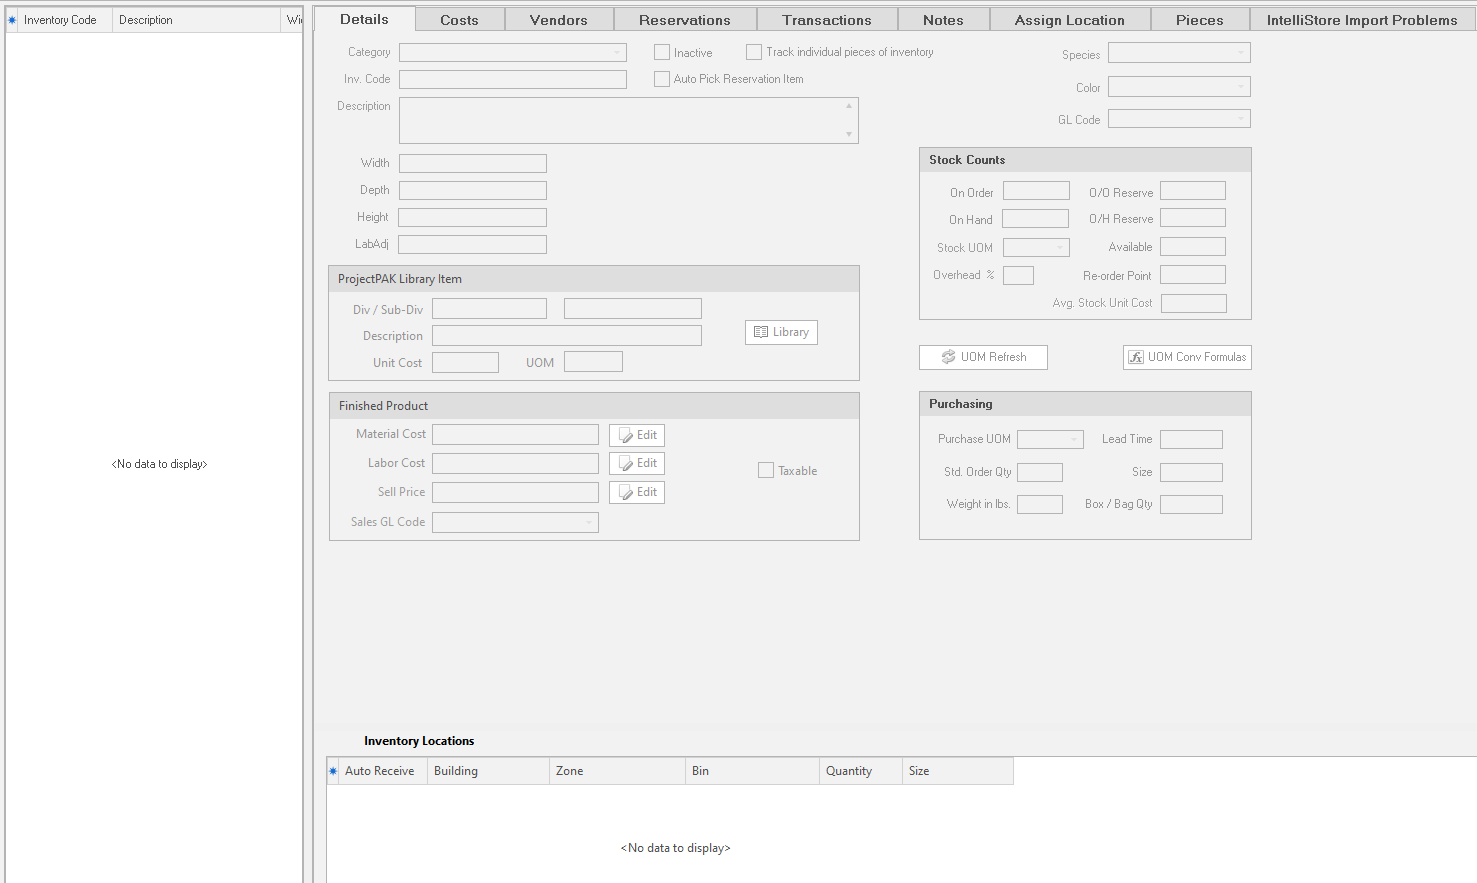
Displaying the Inventory Tab
There’s too much inventory related information to fit neatly on one panel, so ShopPAK organizes inventory information into tabs that run along the bottom of the Inventory Form.
TIP: To adjust the pane size of the Inventory List and/or the Inventory Form, move your mouse over the splitter until it turns into a double-headed arrow. Holding down your left mouse button, drag the splitter left or right.
|
The first six Inventory Form tabs display information that relates to the currently selected Inventory List item. However, the “Assign Location” and the “Pieces” tabs don’t pertain to the currently selected Inventory List item. These tabs work independently and can contain information on a number of inventory items.

ReservationsThe fourth sub tab, “Reservations” contains a ‘read only’ grid that lists the reservations that have been placed against the active inventory item.

Right mouse click the ‘Reservations’ grid to bring up the pop up menu with the following commands:
 New
Create a new ‘Manual’ reservation by selecting the Job, Job Item, Work Order that requires the selected inventory item and enter the quantity to reserve.
Modify
Make a change to the selected reservation.
Delete
Delete the selected reservation.
Reassign
Reassign all or a portion of the currently selected ‘Manual’ reservation to another Job, Job Item, and/or Work Order.
Generate Labels
Generate material labels for all or some of the reservations against the current inventory item.
Generating labels is a distinct step from printing labels. When you generate labels, ShopPAK writes label information to the database. Later, you can print all of the generated material labels at one time as a batch.
Open Work Order
Automatically opens the reservation’s work order. ShopPAK navigates to the Jobs tab and opens the requested work order.
Open PO
If this is a PO reservation, automatically opens associated a purchase order. ShopPAK navigates to the Purchasing tab and opens the requested purchase order.
| ||||||||||||||||||||||||||||||||||||||


Assign LocationThe seventh sub tab, “Assign Location”, is used to assign an inventory location to shipments that contain inventory items that don’t have an ‘Auto Receive’ location. See page 9 in this chapter for an explanation of auto-receiving.
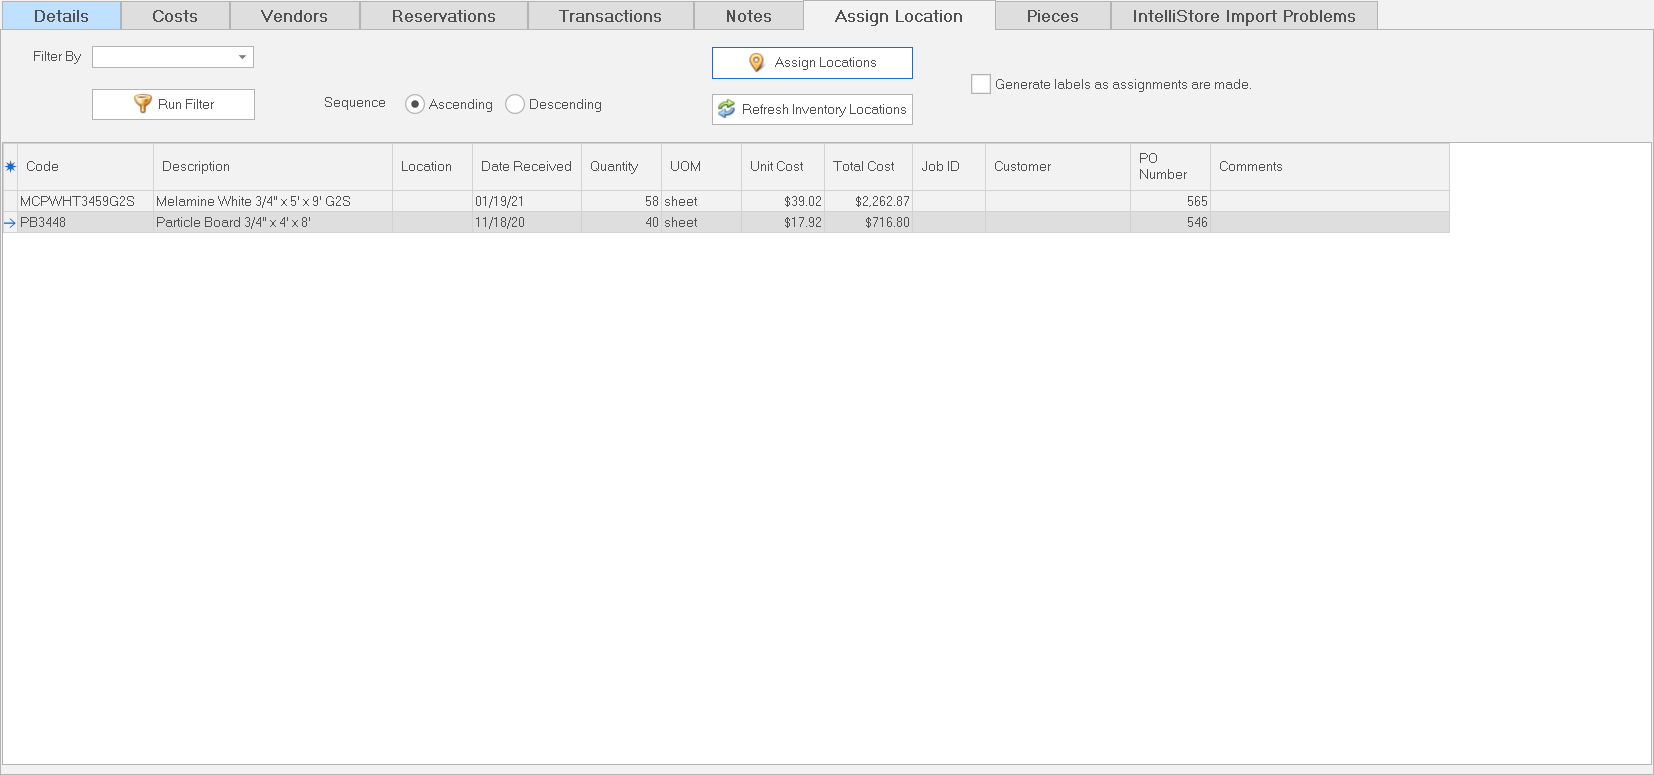 Displaying a List of Items that Need a Location
1. Use the “Receiving” Tab to receive a shipment that contains inventory items. If the shipment includes inventory items that don’t have an auto-receive location, you’ll see these items in the “Assign Location” grid.
2. To see a list of inventory items that have been received, but don’t have an inventory location, select a filter from the “Filter By” drop down list and click “Run Filter”. The filtering choices include:
Sequencing the Assign Location Grid
A nice feature of the “Assign Location” grid is you can sequence the grid on a number of columns, as well as, sort rows by ascending or descending sequence. The column currently being sequenced has a blue background. To sequence on another column, click the column header with your left mouse button.
Assigning Locations
There are two ways of assigning a location to a received inventory item:
1. For the row that you want to assign a location, click the location drop down box.
2. Select the location where you want to place the inventory item shipment.
3. ShopPAK automatically updates the database and the inventory item with your choice.
- or -
1. Select the row(s) that you want to place in the same location.
2. Click the
 3. Select the location where you want to place the inventory item(s) shipment. Click OK.
4. ShopPAK automatically updates the database and the affected inventory items with your choice.
When you assign a location to one or more inventory items, ShopPAK automatically updates the inventory items’ counts at the location level, as well as, at the overall inventory item level. If you click on the “Details” tab, and make an assigned inventory item active by selecting it from the Inventory List, its quantity counts now include the quantity that you just assigned.
If you’re assigning inventory quantity to a ‘new’ location, in other words, the inventory item did not previously have inventory located at that location, ShopPAK automatically creates the new location record for the inventory item and updates the location count accordingly.
Once assigned, ShopPAK removes the assigned inventory items from the list of shipments that require a location. You’ll notice that if you refresh the grid by clicking the “Run Filter” button, the inventory item rows that you just assigned a location will no longer display in the list.
Generating Labels as You Assign Locations
If you generate material labels for inventory, you may want to generate material labels as you assign locations. The only reason you might want to postpone label generation is if you need to transfer some portion of the quantity being assigned to another location prior to generating material labels.
To generate material labels as you assign locations:
1. Place a check in the “Generate labels as assignments are made” checkbox.
Generating labels is a distinct step from printing labels. When you generate labels, ShopPAK writes label information to the database. Later, you can print all of the generated material labels at one time as a batch.
| ||||||||||||||||||||||||||||||
PiecesThe eighth sub tab, “Pieces”, is used to manage individual pieces of inventory. When you first create an inventory item, you mark whether or not the inventory item will be managed by the ‘piece’ or by the ‘batch’. See page 4 in this chapter for a detailed explanation of managing by the piece.
If managing by the piece, use the “Piece” tab to add, change, and delete inventory pieces.
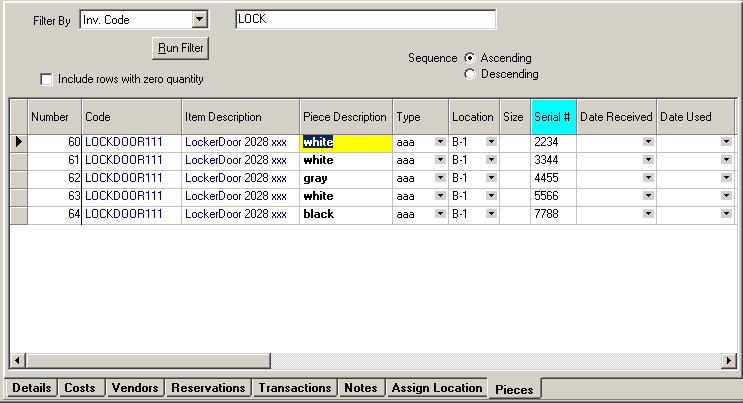 Displaying a List of Inventory Item Pieces
1. To see a list of inventory pieces, select a filter from the “Filter By” drop down list and click “Run Filter”. The filtering choices include:
Filter Purpose
Nothing No filtering. Displays all inventory pieces.
Current Inventory Item Filters by the inventory item that is currently selected from the
Inventory List.
Inv. Code Filters on inventory item code. ShopPAK returns partial
matches.
Inv. Description Filters on inventory item description. Returns partial matches.
Vendor Filters by a particular vendor.
Inv. Piece Type Filters by inventory piece type.
Inv. Piece Number Filters by piece number. Returns one inventory piece record.
Inv. Category Filters by inventory category.
Filter Purpose
Location Filters by the inventory item location.
Job ID Filters by the job that a purchase order line item is assigned to.
Customer Filters by the Customer of the job that a Purchase Order line item
is assigned to.
PO Number Filters by a purchase order number.
Receive Date Filters by the date that the purchase order was received.
Used Date Filters by the date that the inventory item piece was used in
production.
Piece Qty = Zero Filters by inventory piece quantity. Returns all pieces with a
quantity of zero. Note: You should also check the “Include rows
with zero quantity” checkbox when using this option.
Unassigned Location Filters by those inventory item pieces that have not been assigned
a location. Use this option to assign locations to inventory items
that are being managed by the piece that don’t have auto-receive
locations.
Sequencing the Piece Grid
A nice feature of the “Pieces” grid is you can sort the grid on a number of columns, as well as, sequence rows by ascending or descending order. The column currently being sorted has an aqua background. To sequence on another column, click the column header with your left mouse button.
Modifying Inventory Piece Information
The piece grid allows direct editing of most of its information. You can alter the columns that have black text. Protected columns are painted blue. To make a change:
1. Move your mouse or tab into the cell you want to change.
2. Type your change or select from the pull down list if the cell is a drop down list.
3. ShopPAK automatically updates the database when you press Enter or tab out of the cell.
Assigning Locations to an Inventory Piece
There are two ways of assigning a location to an inventory piece, or changing where the piece is kept:
1. For the inventory piece you want to assign a location, click the location drop down box.
2. Select the location where you want to place the inventory piece shipment.
3. ShopPAK automatically updates the database and the inventory item with your choice.
- or -
1. Select the row(s) that you want to place in the same location.
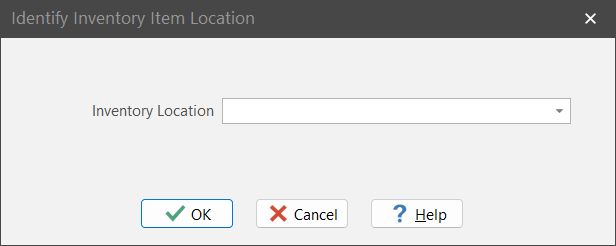
2. Click the “Assign To Location” button. This displays the “Identify Inventory Item Location” dialog box.
3. Select the location where you want to place the selected inventory pieces. Click OK.
4. ShopPAK automatically updates the database and the affected inventory item pieces with your choice.
When you assign a location to one or more inventory items, ShopPAK automatically updates the inventory items’ counts at the location level, as well as, at the overall inventory item level. If you click on the “Details” tab, and make an assigned inventory item active by selecting it from the Inventory List, its quantity counts now include the quantity that you just assigned.
If you’re assigning inventory quantity to a ‘new’ location, in other words, the inventory item did not previously have inventory located at that location, ShopPAK automatically creates the new location record for the inventory item and updates the location count accordingly.
Adding a New Inventory Piece
For the most part, inventory item piece records are created automatically as you receive new shipments that contain inventory items that are managed by the piece. However, you may need to create a new inventory piece record from time to time if a partially used inventory piece is returned from production back into inventory.
1. Right mouse click the “Pieces” grid. Select “New” from the pop up menu.
2. This displays the “Inventory Piece” dialog box shown on the next page.
 3. Fill out the dialog box. “Job ID / Description” and “Customer” are optional. The other fields are required.
4. Click OK. This returns you to the “Pieces” grid. The new inventory piece record is displayed at the bottom of the grid. If you want to add additional information, such as size and sequence number, edit the row directly.
Deleting an Inventory Piece
1. Select the Piece(s) you want to delete from the grid.
2. Right mouse click the “Pieces” grid. Select “Delete Row(s)” from the pop up menu.
3. This displays a warning message. Select “Yes” to delete the pieces from the database. Click “No” to cancel the deletion.
Generating Material Labels from the Pieces Tab
If you generate material labels for inventory, you can generate labels from the “Pieces” tab that contain the Piece number and some of the piece level information.
To generate material labels from the “Pieces” tab:
1. Select the Piece(s) you want to generate labels for from the grid.
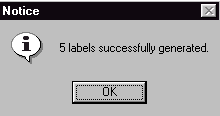
2. Right mouse click the “Pieces” grid. Select “Generate Labels” from the pop up menu.
3. ShopPAK generates labels and stores them in the database. It displays an information box with the number of labels it generated.
 Generating labels is a distinct step from printing labels. When you generate labels, ShopPAK writes label information to the database. Later, you can print all of the generated material labels at one time as a batch.
| ||||||