
Starting Multiple Work Orders
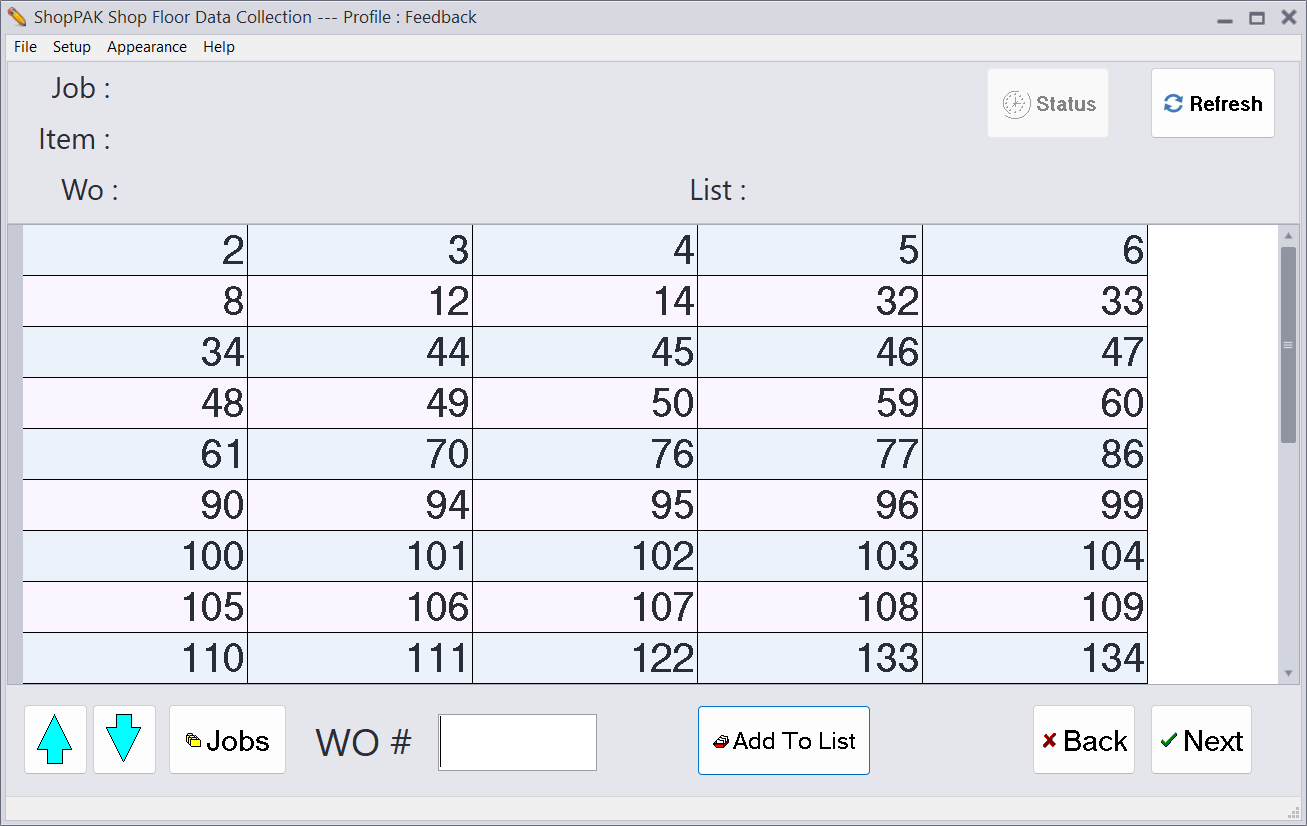
When selecting multiple work orders, we display an additional button called “Add To List”. The shop floor employee uses this button to add selected work orders to the selection list displayed towards the top of the screen.
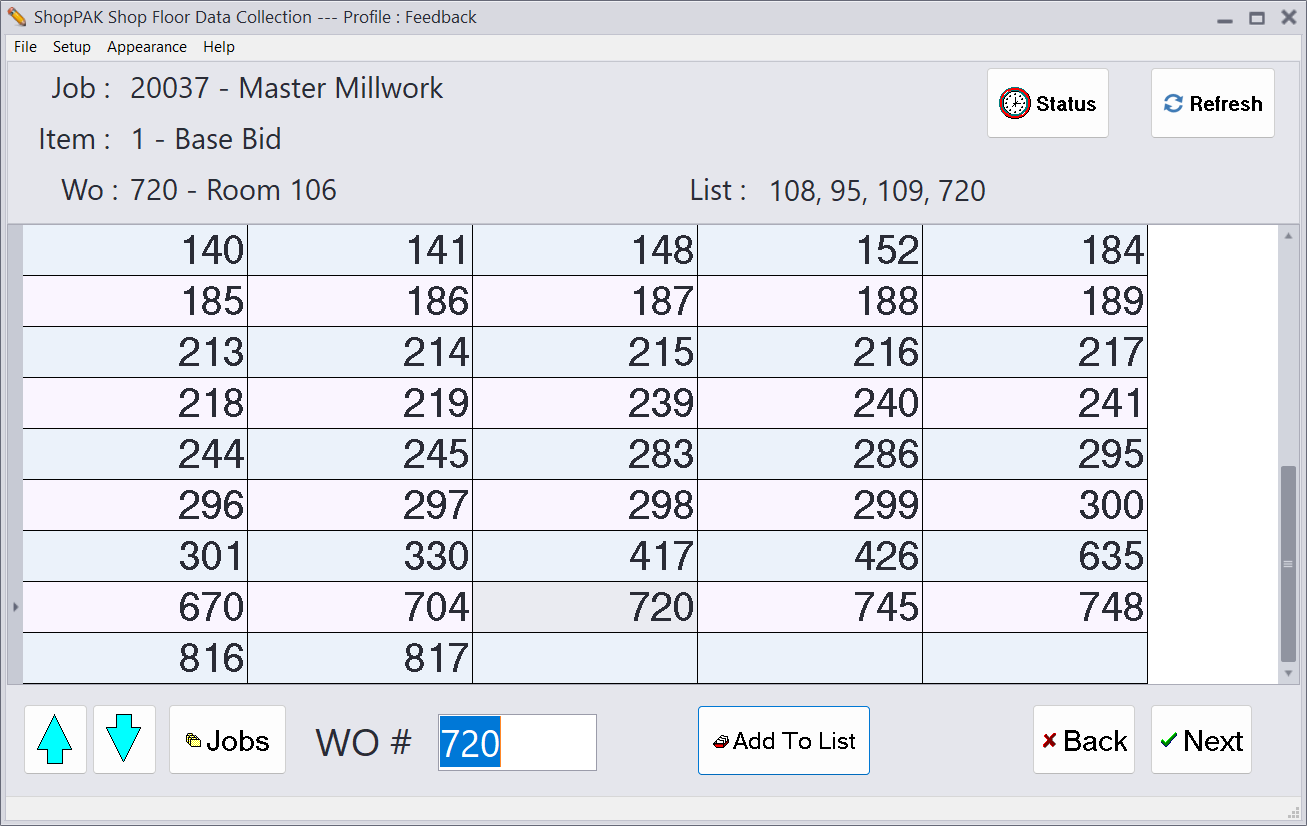
3. Once you’ve selected the work order(s) you’ll work on, click or touch the “Next” button  . If your PC Data Collection profile calls for identifying labor operations, the “Operations” screen is displayed next. If you are only identifying work orders, then you’re returned to the starting screen -> Employee List.
. If your PC Data Collection profile calls for identifying labor operations, the “Operations” screen is displayed next. If you are only identifying work orders, then you’re returned to the starting screen -> Employee List.4. Choose the labor operation that you’ll be performing by either scanning the labor operation bar code, or use your mouse or finger to select the operation code from the screen:
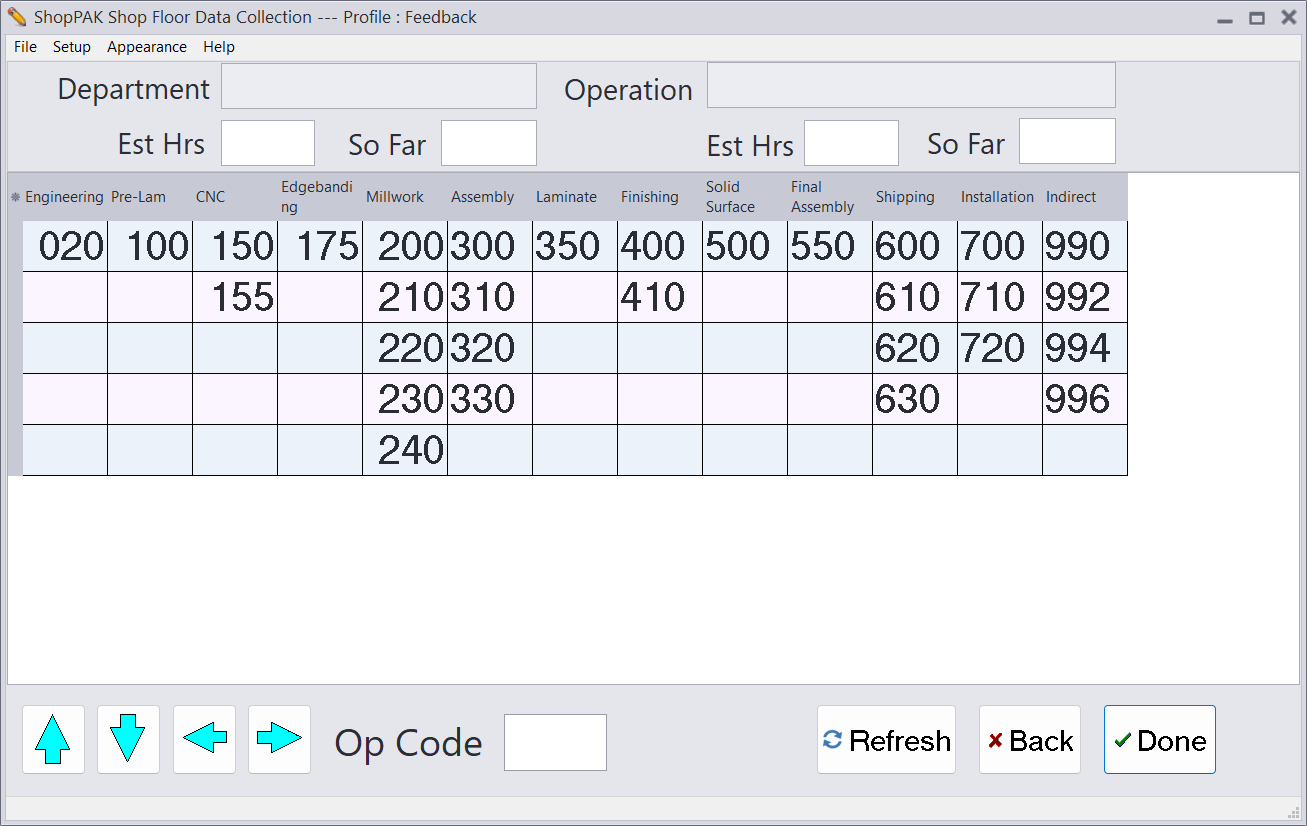
Operations are organized by Department. Each column contains the operations that have been defined underneath a particular department. In the example above, the 5th column lists all of the “Assembly” department’s operations.
Selecting an operation displays confirmation and status information at the top of the “Operations” screen.
TIP: ShopPAK generates a report that lists operations. If you wish, you can have ShopPAK barcode each operation. To assist employees with identifying the correct operation, you can place the operation list near each of your shop floor data collection PCs.
Another option is printing operation codes on generated work orders. These too can be bar coded if you wish.
|
5. Click the “Done” button. A black window appears for a couple of seconds. It identifies the work order number you selected, and if collecting operation, the operation code you selected.
6. When the black message window disappears, the PC data collection window returns to its “waiting” state (list of employees), ready for the next transaction.