
Starting a Single Work Order
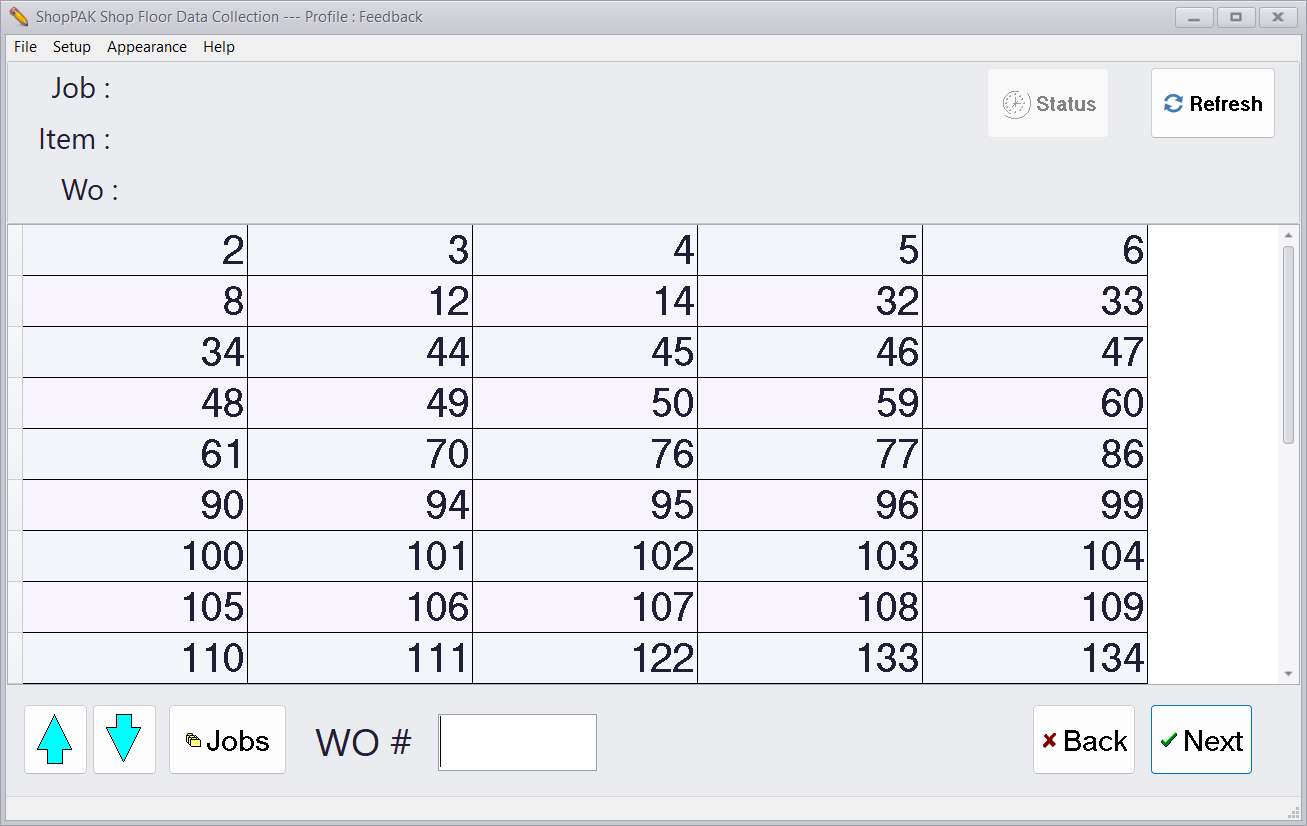
Select the work order by:
-
Touching the work order number with your finger
-
Clicking the work order number with your mouse
-
Typing the work order number into the WO # field
-
Scanning the work order bar code with a bar code reader
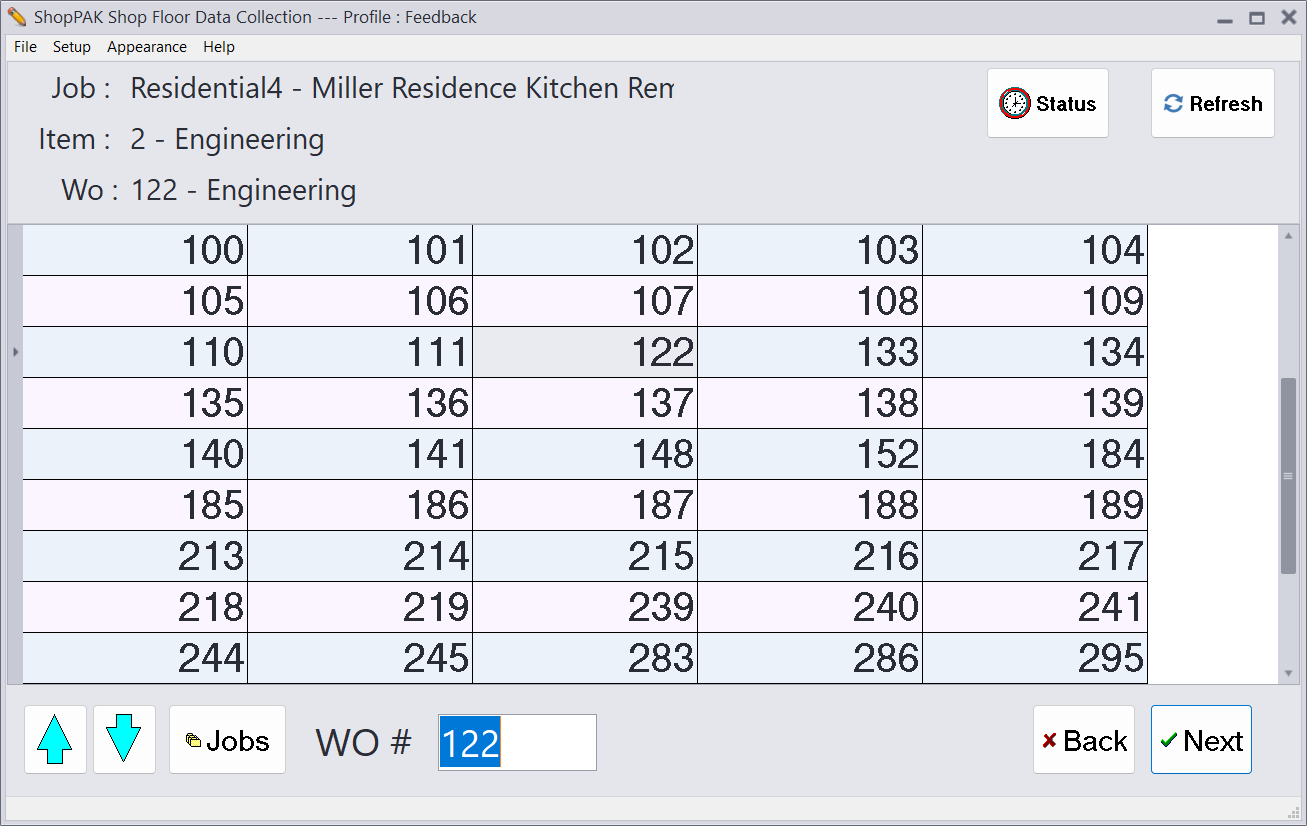
After selecting the work order, we display the work order’s Job Id and description, the work order’s Job Item number and description, and the work order’s description. The employee logging on should always check to make sure the work order they’ve selected matches their paper work.
Note: If using a bar code scanner, you’ll either see the verification information (as shown on the previous page) or you’ll see the next data collection screen -> “Labor Operations”. This depends on how the bar code scanner is programming. If the scanner is programmed to append an ENTER command after scanning a bar code, then the workstation automatically goes to the “Labor Operation” screen after the user scans the bar code. If the scanner simply sends the scanned information into the WO # field, then the work order list stays displayed so the user can verify they’ve scanned the correct work order.
|
When a work order is selected, the “Status” button  is enabled, provided your data collection profile allows users to check work order status. Clicking the “Status” button displays the work order status screen:
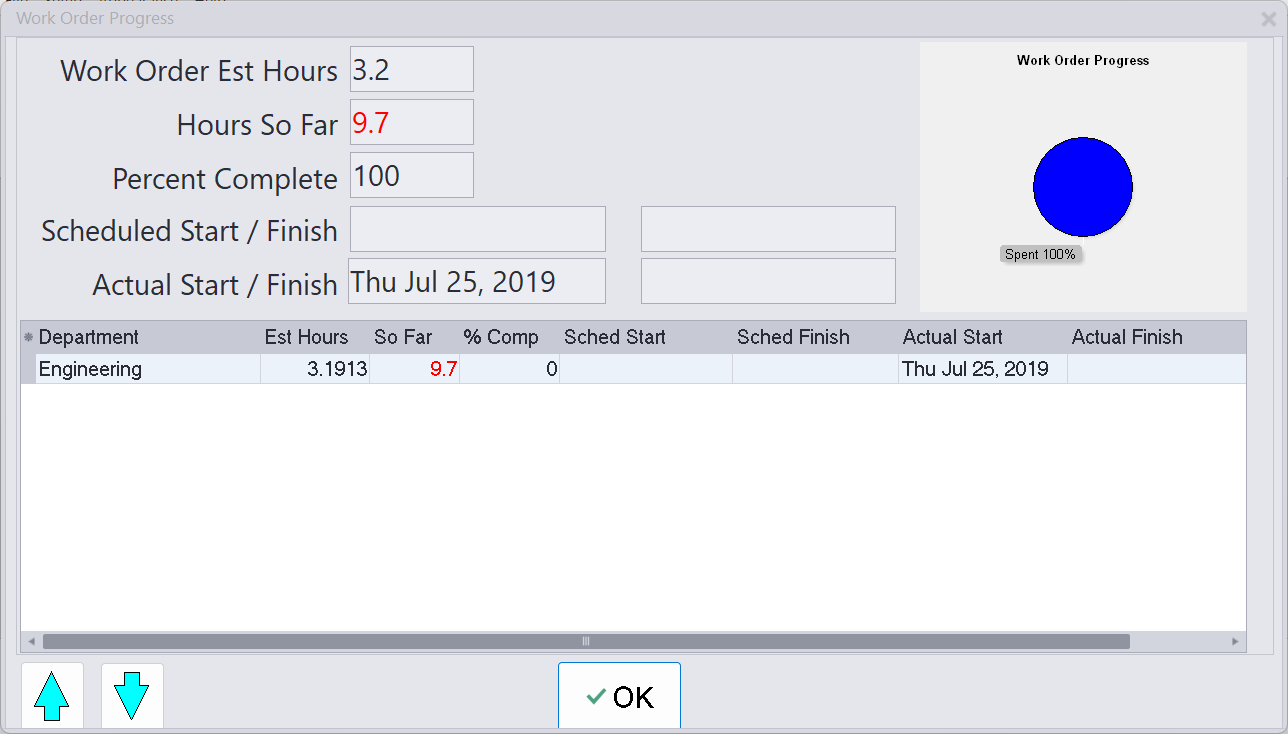
The work order progress window displays the status of the work order via a pie chart. The pie chart graphically shows the percentage of hours logged against the work order versus the percentage of time estimated to complete it. Also, if “Actual Hours” are greater than the “Estimated Hours”, the actual hours are displayed in red. The same is true for “Scheduled Finish Date”. If the scheduled finish date is less than or equal to today’s date, it is colored red.
Displaying information in red indicates the work order is taking more time than was budgeted, and/or, it is late and needs to be finished as soon as possible.