
Displaying the Shipping Tab
Make sure the “Shipping” tab is active by clicking it with your mouse. All of the actions in this chapter require that the “Shipping” tab remains selected.
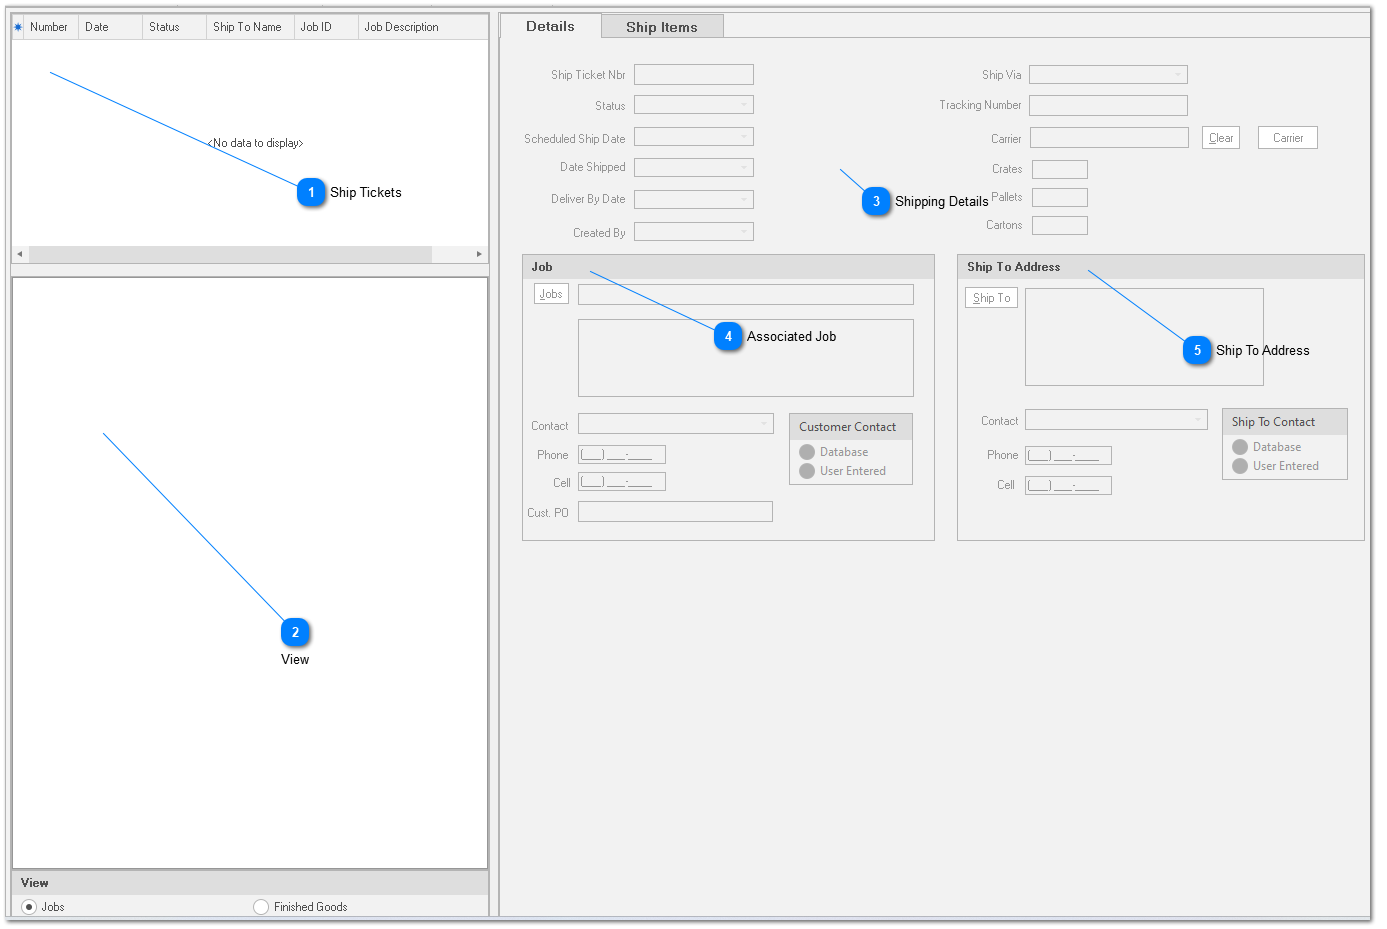

Shipping Details Ship Ticket Number
System generated, read only field. When you save a new ship ticket, ShopPAK assigns the next sequential ship ticket number. (You can give ShopPAK your starting ship ticket number. See “Set up and Options”.
Status
Ship ticket status: Pending, Check Load, Shipped, and Shipped Incomplete. We discuss the ‘Check Load’ status down in the “Verify Shipments” section of this chapter. Move the status to ‘Shipped’ or ‘Shipped Incomplete’ when you are actually ready to generate the shipping ticket and load the truck. Once the status is ‘Shipped’ or ‘Shipped Incomplete’, no more changes are allowed.
Created By
Employee that created the ship ticket.
Sched. Ship Date
Date we are planning to ship on. Automatically filled in by ShopPAK when dragging a job tree node over to the Ship Item Grid. For example, if you drag a work order over to the ship item grid, and the work order has a ‘Ship Date’, ShopPAK copies the work order ship date to the ‘Scheduled Ship Date’. You can override this date manually if needed. ShopPAK automatically highlights scheduled ship date to be on time, late, in jeopardy of being late, etc. based on your date tracking color choices located via the Define | Date Tracking Colors menu item. We cover setting up date tracking colors in the milestone section in Chapter 6 - Job Form.
Date Shipped
Actual ship date. ShopPAK automatically fills this in with today’s date when the status is changed to ‘Shipped’ or ‘Shipped Incomplete’.
Deliver By
Date we need to be at the customer site. Automatically filled in by ShopPAK when dragging a job tree node over to the Ship Item Grid, provided the job has a ‘Request By Date’ present. You can override this date manually if needed.
Ship Via
Tracking Number
Tracking number assigned by the Carrier / Shipping Agent.
Carrier
Read only. Identifies who is shipping the shipment. Click the “Carrier” button to choose carrier. The carrier needs to be defined as a business in ProjectPAK.
Crates, Pallets, Cartons
Number of crates, pallets, cartons that you are shipping.
|
Associated Job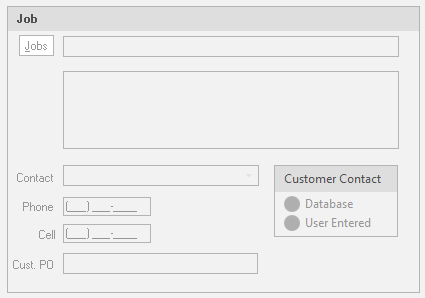 Job Information
Automatically filled in by ShopPAK when dragging products from the Job Tree over to the Ship Item Grid. If you build a ship ticket manually, you must identify the job via the “Jobs” button.
Customer Contact
Choose ‘Database’ if you want to choose from the ProjectPAK contacts linked to the ProjectPAK customer record. Choose ‘User Entered’ if you want to simply type a contact yourself. (You can give ShopPAK a default ‘Customer Contact’ setting. See “Set up and Options”.
|
Ship To Address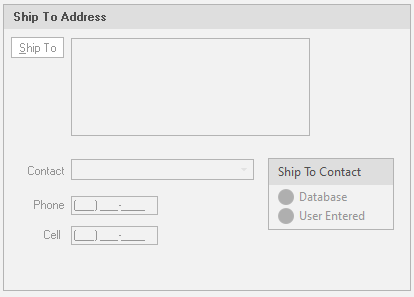 Ship To Contact
Choose ‘Database’ if you want to choose from the ProjectPAK contacts linked to the ProjectPAK ship to record. Choose ‘User Entered’ if you want to simply type a contact yourself. (You can give ShopPAK a default ‘Customer Contact’ setting. See “Set up and Options”.
Ship To Address
Automatically filled in by ShopPAK when dragging products from the Job Tree over to the Ship Item Grid. If you build a ship ticket manually, or you want to override the ship address, click the “Ship To” button to reference a company in the database, or simply type in the ship to address manually.
|
Ship items grid rows are filled in automatically when dragging work order products over to the grid.
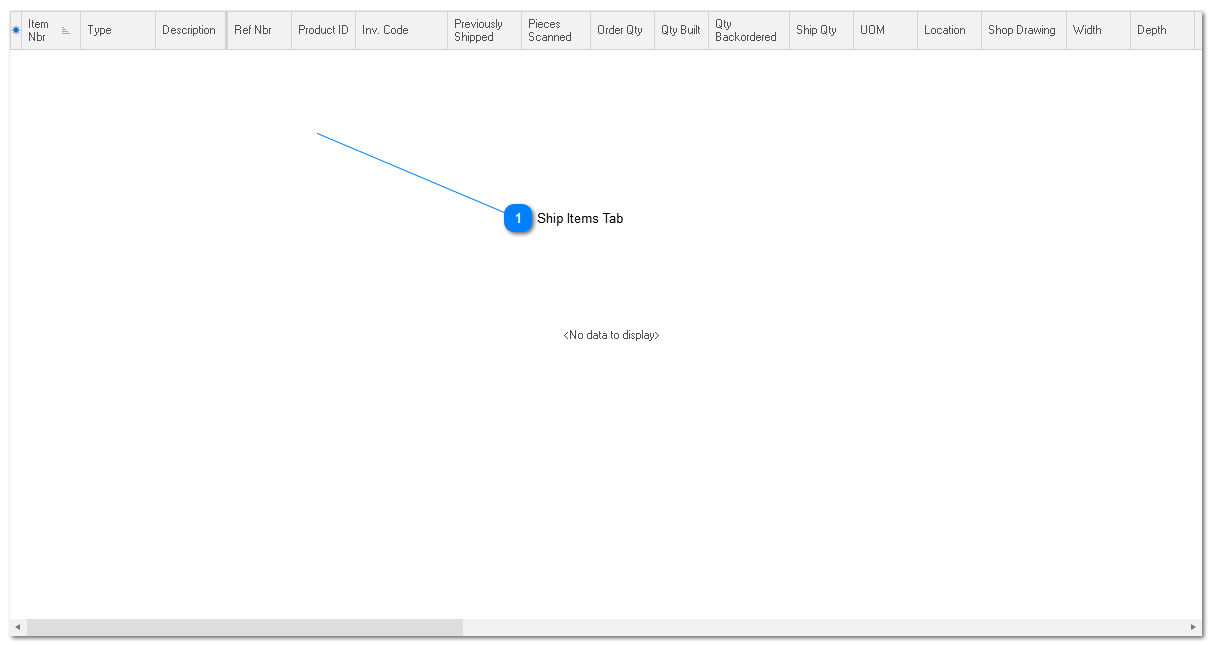
Ship Items Tab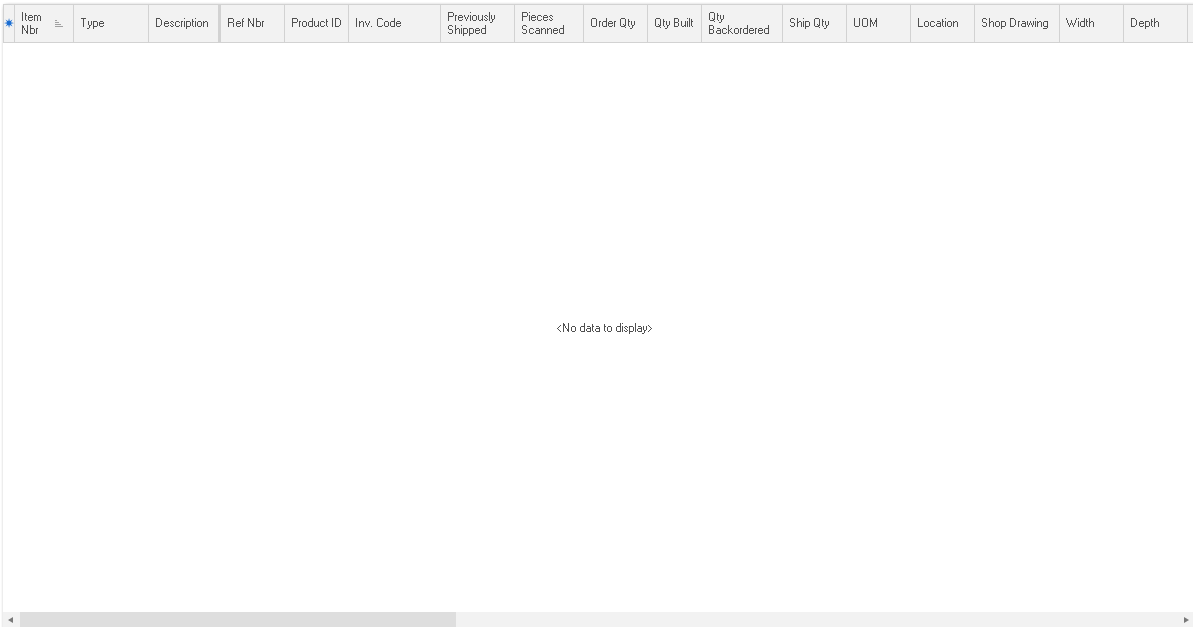 Item Number
Sequential number used to order the ship item grid in ascending sequence. Use the arrow buttons
Type
Identifies the type of product being shipped. 5 types are available from dropdown pick list:
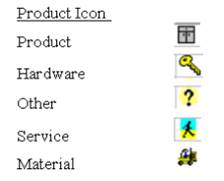 There are also two additional row types: ‘Comment’ and ‘Section’. Use these line types for section headers, comments, and to communicate instructions on the printed Packing Slip. Comments print in regular font. Sections print bolded on the grid and on the printed Packing Slip.
Description
60 character product description.
Ref No (Reference Number)
Unique sequential number associated with the product. If you use unique reference numbers in ProjectPAK to identify products, the ProjectPAK Estimate Conversion Utility sends the unique reference numbers over to the ShopPAK work order ‘Products’ grid. When dragging a work order on to the ship item grid, ShopPAK automatically copies the reference number if present.
Product ID
Code that represents the product. If you use product assembly codes / IDs in ProjectPAK to identify products, the ProjectPAK Estimate Conversion Utility sends the unique codes over to the ShopPAK work order ‘Products’ grid.
Inventory Code
Read only cell. Inventory code if the ship item is an inventory item.
Loose Pieces In Box
Checkbox that indicates if the ship item contains "loose hardware" that have been put into a box. Although the ship quantity in this case is 1 since there is 1 box, there will usually be a number of items place into the box.
Previously Shipped
Read only. Quantity previously shipped for the ship item.
Pieces Scanned
If you use Shop Floor Data Collection workstations to verify ship quantities, ShopPAK fills in ‘Pieces Scanned’ when you upload the ship ticket verification scan counts to the database. If you manually verify ship counts, you can still enter the ‘Pieces Scanned’ by typing directly into the grid. If you change Ship Ticket status to “Check Load”, ShopPAK displays rows with unequal ‘Scan Counts’ and ‘Pieces Scanned’ in red…..so they stand out. Verifying ship counts is discussed later in this chapter.
Order Quantity
Initially set to the work order product’s ‘Order Quantity’.
Quantity Built
Read only. Contains a product's built quantity. You either type quantity built via the work order's product sub-tab or via Shop Floor Data Collection's 'Product Built' function.
Back Ordered
Quantity back ordered, and thus, that we are short on this shipment.
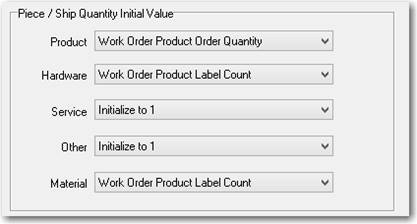
Ship Quantity
Quantity that we are shipping.
You can set up defaults, by product type, as to how you want ShopPAK to initially set ship quantity when dragging products and/or inventory on to the ship ticket item grid. Set your piece count defaults in the ShopPAK Options dialog box on the ‘Shipping / Billing’ tab. See “Set up and Options”.
 UOM
Unit of measure drop down pick list. Uses the ProjectPAK user defined list of unit of measures.
Location
Installation location (building, floor, room, elevation, etc.) of the product.
ProjectPAK Custom Columns
ShopPAK shares ProjectPAK custom columns so custom product information defined in ProjectPAK flows through to ShopPAK when converting an estimate into a 1st cut job.
ProjectPAK Work Group Columns
ShopPAK shares ProjectPAK work group columns so information defined in ProjectPAK flows through to ShopPAK when converting a ProjectPAK estimate into a first-cut ShopPAK job.
Piece Description
When dragging an inventory item that is managed “by the piece” over to the ship ticket grid, ShopPAK automatically copies the inventory piece description into the cell. ‘Piece Description’ is included when printing the ship ticket, if the item is an inventory item.
Piece Serial Number
When dragging an inventory item that is managed “by the piece” over to the ship ticket grid, ShopPAK automatically copies the inventory piece serial number into the cell. ‘Piece Serial Number’ is included when printing the ship ticket, if the item is an inventory item.
Notes Checkbox
Indicates if the ship item has a corresponding note attached to it. To edit the note, select the row and click the “Item Notes” button. Notes are included when printing a Packing List.
Work Order
Read only field. Automatically updated when you drag a work order over to the ship item grid.
Job Item
Read only field. Automatically updated by ShopPAK when you drag job tree nodes over to the ship ticket grid, or when you identify the Job Item when adding ship item rows manually.
|