Add New RFI
To add a new RFI, right mouse click the RFI grid and select “New” from the pop up menu. This brings up the “Request For Information” dialog box which allows you to enter all of the information needed for the RFI.
Details Tab
Enter all detail information about the RFI such as contact, status, reason, and schedule impact. Note, you can change the system generated RFI number if you wish.
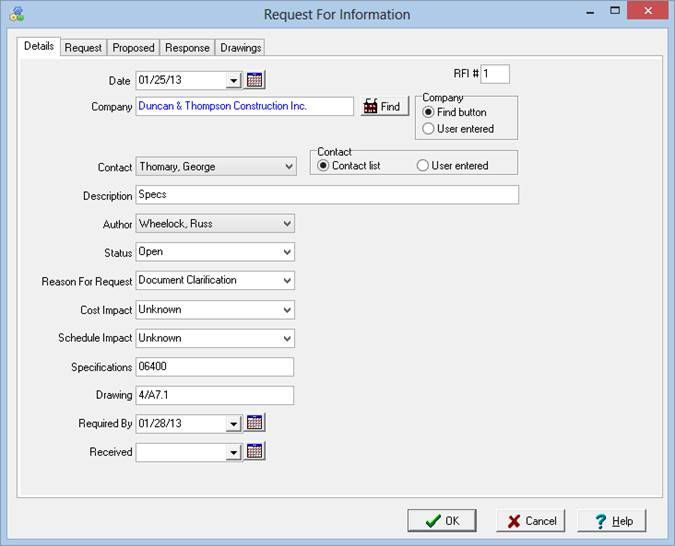
ShopPAK automatically highlights 'Required by Date' to be on time, late, in jeopordy of being late, etc. based on your date tracking color choices located via the Define | Date Tracking Colors menu item. We cover setting up date tracking colors in the milestone section found earlier in this chapter.
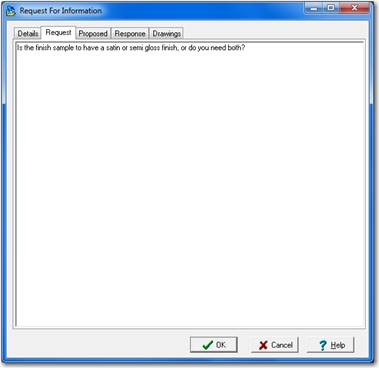
Request Tab
This tab is where you type in your reason for the request. This field can be up to 3000 characters long.
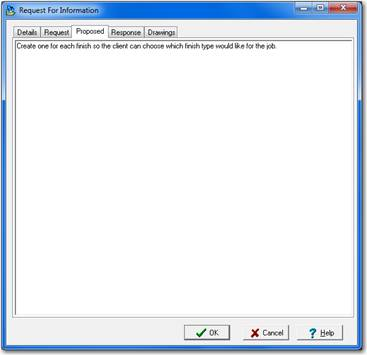
Proposed Tab
This tab allows you to add your own proposed action to be taken for the RFI. This field can be up to 1000 characters long
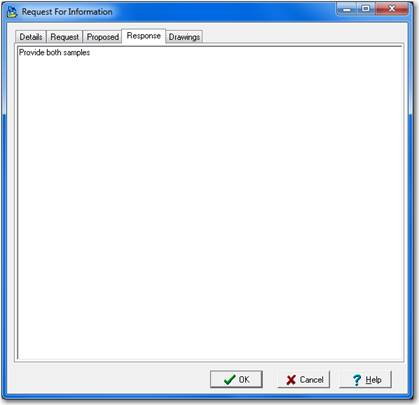
Response Tab
This tab allows you to type in the response from the customer after they have sent their response back to you. By typing their response into ShopPAK you now have one place to view all information about an RFI without having to go find the paper copy. This field can be up to 1000 characters long.
Drawings Tab
This tab allows you to link related drawings to the RFI. A number of graphic formats are supported including: DWG,DXF,PDF, WMF, JPG, and BMP.
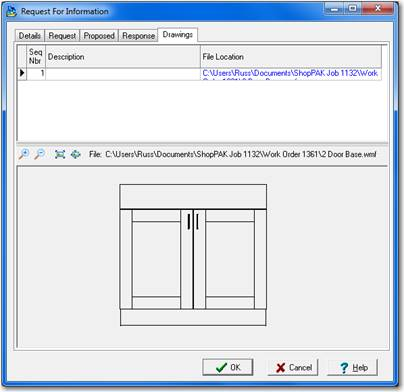
To add, remove, or resequence drawings, right mouse click the grid area: