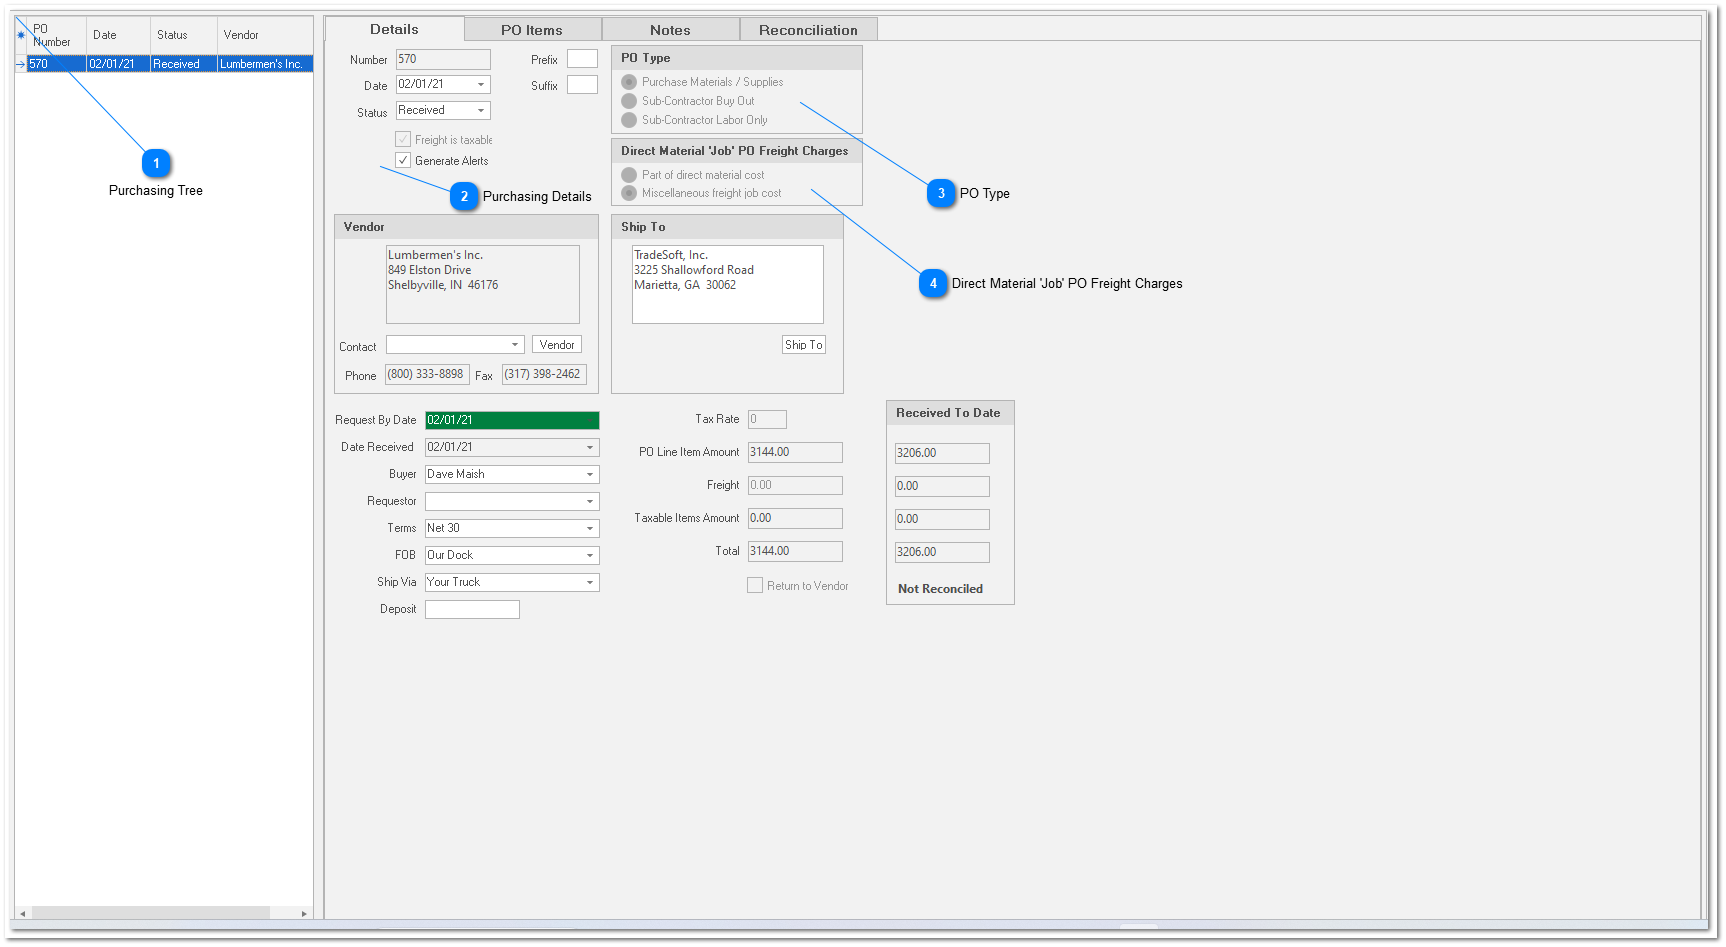
Purchasing Details
Number
System generated Purchase Order number. Protected.
Date
Date the purchase order was created. You can change the date if you wish. For example, you may want the date to be the date the PO was given to the supplier.
Status
4 values are available: “Pending”, “Open”, “Back Order”, “Received”, and “Closed”.
Pending
Default status for new purchase orders. A ‘pending’ status means the PO is still being worked on and has not been given to the supplier.
Open
ALWAYS change status to ‘Open’ when you send the PO to the vendor. When you change the status to “Open”, or when you print the PO, ShopPAK asks if you want to post the purchase order. Say “yes” so ShopPAK can properly update the database. For example, when purchasing inventory items, ShopPAK updates inventory on-order counts for any “Stock” or “Reserve” PO Items when you ‘post’ the purchase order.
| | Note: To quickly open several purchase orders that are in the purchase order list, right mouse click the PO List grid and select à Open All Pending PO's.
|
Back Order
PO has been received, but the supplier was unable to deliver all of the items requested. The “Receiving Tab” automatically changes PO status from “Open” to “Back Order” in these situations.
Received
PO has been totally received. All of the items on the purchase order have been delivered to your dock.
Closed
PO has been received, and all of the items on the purchase order were delivered. If you’ve checked “Auto Close”, the “Receiving Tab” automatically changes PO status from “Open” or “Back Order” to “Closed”.
Prefix
If you need to add a prefix to the system generated PO number, enter the prefix in the “ShopPAK Options” dialog box. ShopPAK automatically fills this field when you create a new purchase order.
Suffix
If you need to add a suffix to the system generated PO number, enter the suffix in the “ShopPAK Options” dialog box. ShopPAK automatically fills this field when you create a new purchase order.
Freight Is Taxable Checkbox
Determines if freight is a taxable item. This is automatically populated via your default setting in ShopPAK Options dialog box. Select Define | ShopPAK Options | Purchasing from the menu and set “Tax Freight Default” to yes or no.
Generate Alerts
Tells ShopPAK to generate alerts for the purchase order.
Vendor Button
Used to choose a supplier that the purchase order is for.
Ship To Button
If you need to change the ship to address, click the “Ship To” button and select the correct ship to address. You can also enter a “Ship To” address manually by typing it into the ‘ship to’ edit box.
Note: You can set your default ‘Ship To’ address via the “ShopPAK Options” dialog box.
Request By Date
Required Field. Tells the vendor when you need to receive materials. ShopPAK uses this date to track expected shipments that are late. It also generates reports that use this field to analyze vendor responsiveness, as well as, help you keep up with pending and late shipments. ShopPAK automatically highlights Request By Date to be on time, late, in jeopordy of being late, etc. based on your date tracking color choices located via the Define | Date Tracking Colors menu item. We cover setting up date tracking colors in the milestone section in Chapter 6 - Job Form.
Date Received
Protected Field. ShopPAK automatically fills this field when the shipment is received.
Buyer
ShopPAK user that generates the purchase order.
Requestor
Employee that ‘requests’ the purchase be made. Use this field when you have one person that does the purchasing, but it is important to track ‘who’ they’re doing the buying for.
Terms / FOB / Ship Via
Vendor related information. The first time you enter this information for a vendor, it becomes part of their profile. The next time you create a PO for that vendor, this information is pre-filled.
Deposit
Records a deposit associated with a purchase order.
Tax Rate
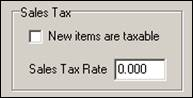
If any part of the purchase order is subject to sales tax, enter the percentage.
Note: Set your default ‘Sales Tax Percentage’ via the “ShopPAK Options” dialog box by selecting Define | ShopPAK Options | Purchasing from the menu and setting your sales tax defaults.
PO Line Item Amount
Protected. Automatically updated by ShopPAK as you add, change, and delete PO Items.
Freight
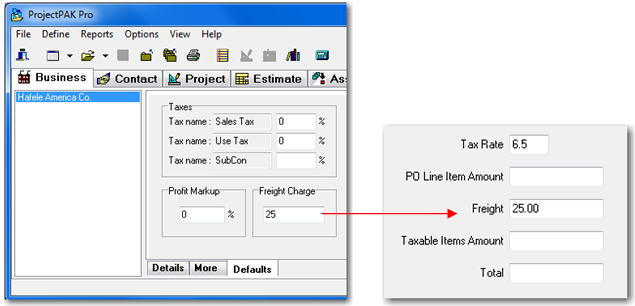
Enter freight for the entire purchase order via this field, or add to one or more individual PO Items and ShopPAK updates ‘Freight’ for you. You can set up default freight amounts for specific vendors in ProjectPAK. Enter the freight charge on the Vendor’s company record defaults tab:
When you create a new PO for a vendor that has a default ProjectPAK freight amount, it will automatically be entered into the PO Freight field.
Taxable Items Amount
Protected. Automatically updated by ShopPAK as you add, change, and delete PO Items that are taxable.
Return To Vendor Checkbox
Indicates that the purchase order is a ‘Return To Vendor’ (RTV) purchase order. Use this when returning defective stock or materials purchased but you can’t use.
Also, this is a handy tool to ‘back out’ POs that are wrong but have already been received. Since ‘Received’ purchase orders can not be ‘canceled’ or ‘deleted’, creating a ‘dummy’ RTV purchase order lets you back out job costs while providing a solid audit trail of what has happened against a job.
|