×

Displaying the Receiving Form

 
We’ve designed the ‘Receiving’ form to be straightforward and easy to use.  If you wish, you can install ShopPAK on a PC out on your shipping / receiving dock and train a shop employee to receive, as well as, ship products directly with ShopPAK.  A nice feature is that you can set up their security privileges to only show the Receiving and Shipping tabs.
 
Displaying the Receiving Form
1

Receiving

1. Receiving
The Receiver Item grid lists all the PO Items that make up the purchase order.  Use the grid to make sure you’re receiving what you’ve ordered.
          
You must enter the quantity received into each PO Item’s ‘Qty Received’ column.  It has a red column header to make it easy to find.  If there are a number of PO Items, and most are being delivered in their entirety, you can click the “Set Qty Received to Qty Ordered” button to save time.  This button tells ShopPAK to automatically copy the ‘Qty Ordered’ quantity over to the ‘Qty Received’ quantity, for every PO Item.
 
‘Qty Back Ordered’ is automatically calculated when you enter a value into the ‘Qty Received’ quantity, however, you can enter a different backordered quantity into the ‘Qty Back Ordered’ column if you like.
 
Besides ‘Qty Received’ and ‘Qty Back Ordered’, you can also enter information in the following columns:
 
Print Label
Place a check in checkbox if you want ShopPAK to generate a material label for this PO Item.  Only allowed if the PO Type is ‘Stock’.  For PO Type ‘Job’ and ‘Reserve’, use the Job Assignments grid at the bottom of the window.  We cover material label generation on page 7.
  
Label Quantity
Enter the number of labels you want to generate for the PO Item.
 
Box / Bag Contains
Additional information that prints on a material label indicating how many items are contained in a box or bag.
 
Label Series
Use label series to tie related material labels together.  For example, if two labels are related, you might enter “1 of 2” on one label and “2 of 2” on the other label.
 
Vendor Stock Number
The vendor stock number should already be on the PO Item, but if it isn’t, and it is included on the supplier’s delivery ticket, you can type it in at receiving time.  Later, a person in charge of updating vendor information could update either the ProjectPAK library or the ShopPAK Inventory database with the vendor’s stock numbers that you entered.
 
Destination
‘Destination’ can be entered when the purchase order is originally created or when the shipment is received.  Use this field to record where the PO Item should be delivered once it is received.
 
Note:  If the PO Item has a type of ‘Stock’ or ‘Reserve’, then the assumption is the item will be placed into inventory.  If the PO Item has a type of ‘Job’ or ‘Other’, the destination field takes on more importance.
  
Damaged Indicator
Place a check into this checkbox if the PO Item is damaged.
 
Notes Indicator
Place a check into the note checkbox, or highlight the PO Item and click the “Item Notes” button to include a note about a PO Item. 
2

Job Assignments

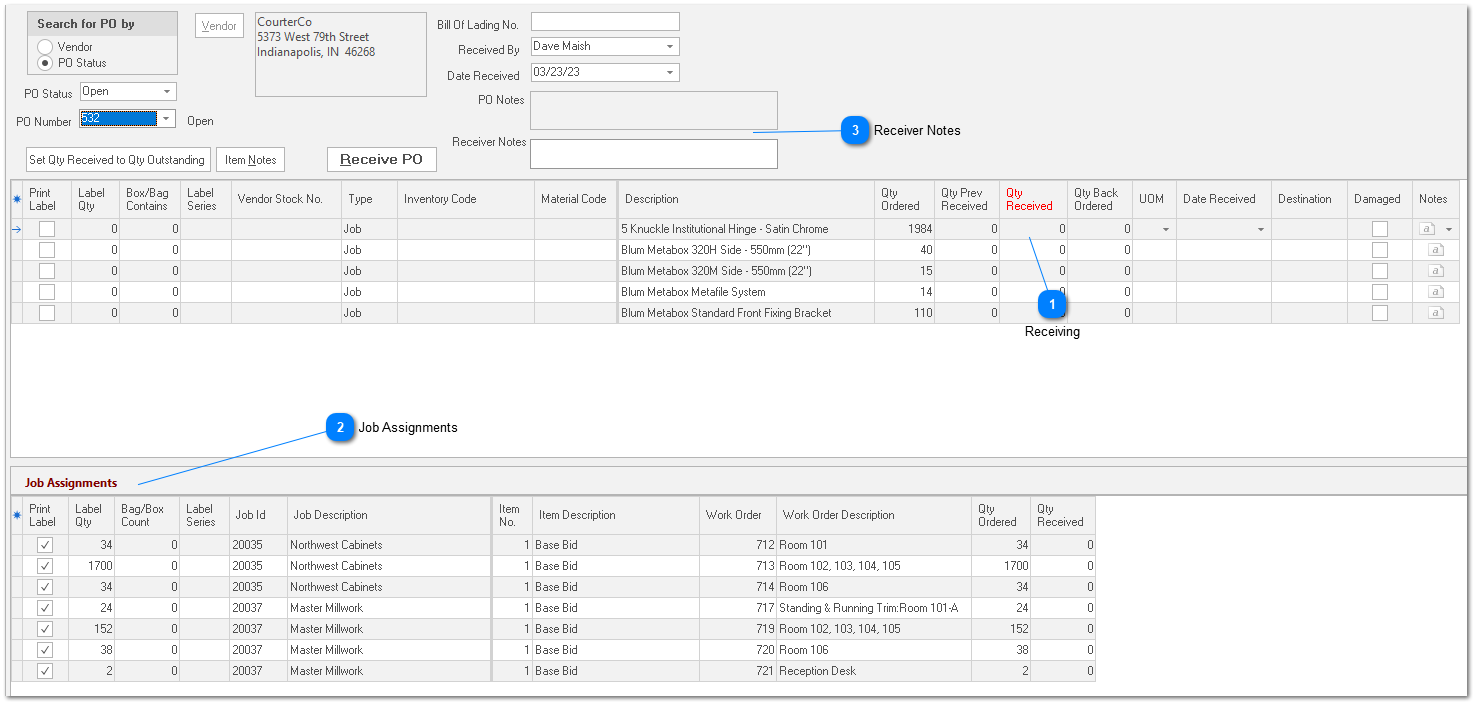
2. Job Assignments
If you created a job assignment on the PO, it will display the details here.   
 
Print Label
Place a check in checkbox if you want ShopPAK to generate a material label for the selected job assignment.  Only allowed if the PO Type is ‘Job’ or ‘Reserved’.  For PO Type ‘Stock’, use the label columns in the PO Item grid.  We cover material label generation on page 21 of this chapter..
 
Set your ‘print label’ defaults via the “ShopPAK Options” dialog box by selecting   Define | ShopPAK Options | Purchasing  from the menu.  Check the PO Item types that you want ShopPAK to automatically place a check into ‘Print Label’ checkbox.


Label Quantity
If ‘Print Label’ is turned on, defaults to job assignment ‘Quantity Ordered’.  This can be overridden when needed.  Contains the number of labels you want to generate for the job assignment.
 
Bag / Box Contains
Additional information that prints on a material label indicating how many items are contained in a box or bag.
 
Label Series
Use label series to tie related material labels together.  For example, if two labels are related, you might enter “1 of 2” on one label and “2 of 2” on the other label.
 
Job Id
Protected.  Job assignment’s job id.
 
Job Description
Protected.  Job assignment’s job description.
 
Item Number
Protected.  Job assignment’s job item number.
 
Item Description
Protected.  Job assignment’s job item description.
 
Work Order / Work Order Description
Protected.  Job assignment’s work order number and description.
 
Quantity Ordered
Protected. Populated from the purchase order.
 
Quantity Received
Protected.  Populated based on quantity when the order is received.
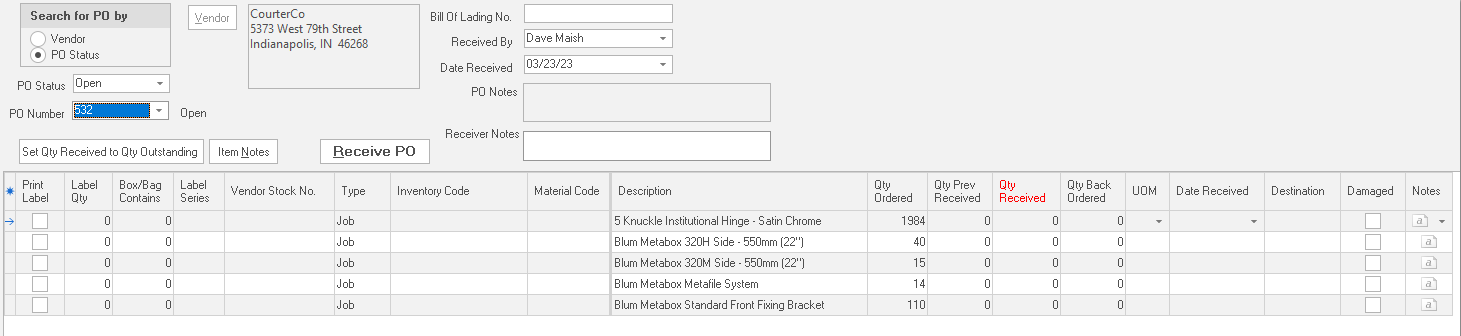
3

Receiver Notes

3. Receiver Notes
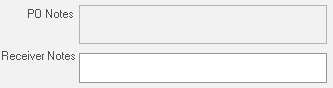
We show both purchase order notes and receiver notes on the “Receiver” form.  The purchase order notes are read-only.  They are shown simply to communicate information from purchasing to receiving.
 
The receiving notes, on the other hand, is where the ‘receiving’ employee can communicate status information back to purchasing, or record any pertinent notes about the inbound shipment.  These notes show up back on the Purchasing tab when reconciling the receiver against the vendor invoice.
 
Note:  Row level notes are also available if the ‘receiving’ employee needs to create a PO Item specific note.